 Sign in
Google Sheets
Google Sheets + Plecto
You can import multiple sheets at once: one sheet creates one data source.
What do you want to see?
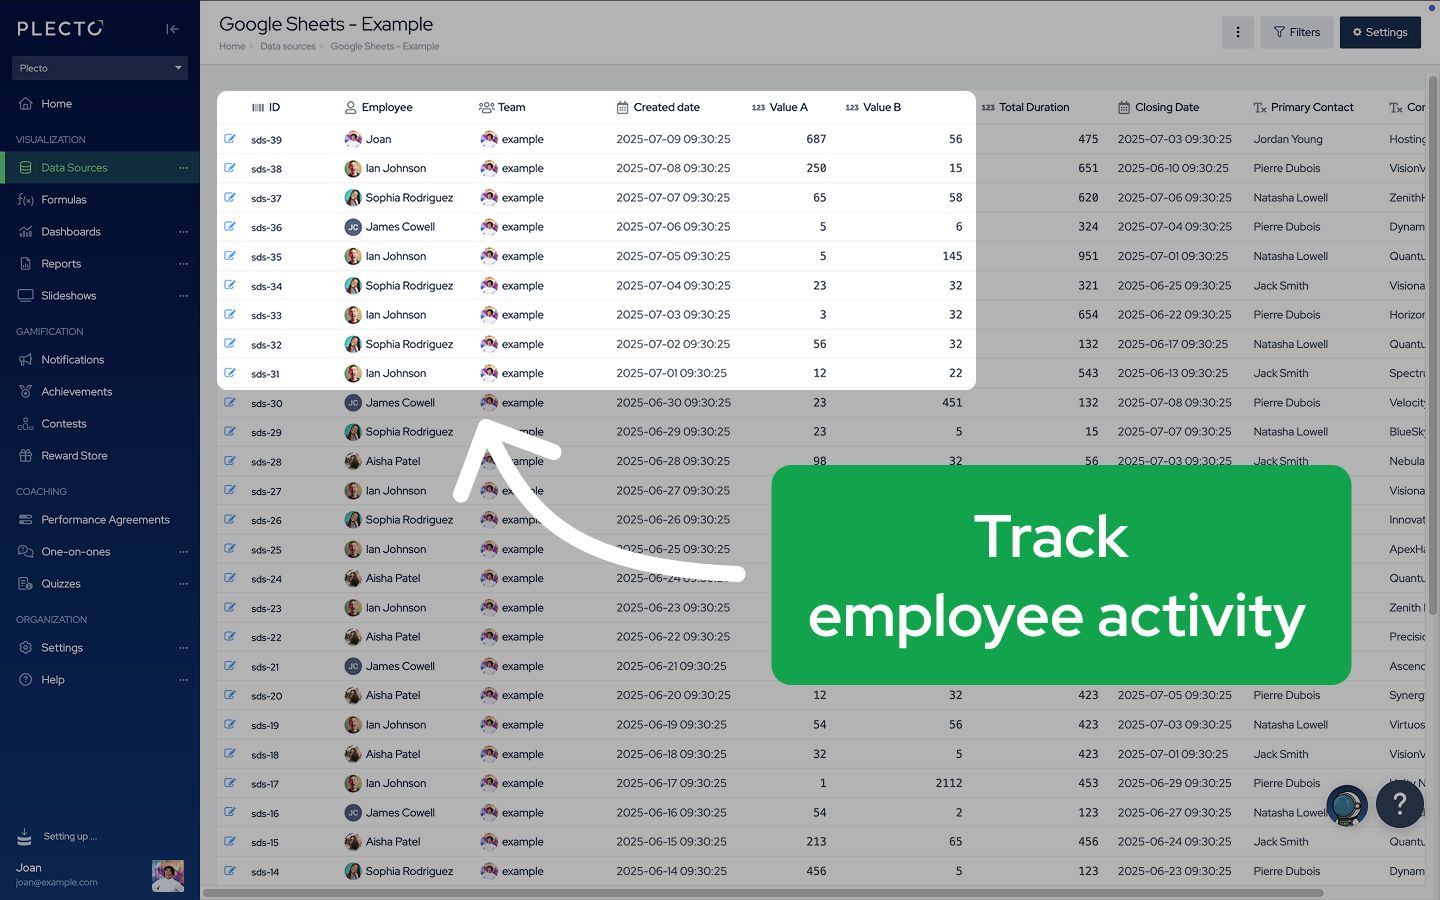
Track employee activity
Step 1: Prepare your spreadsheet
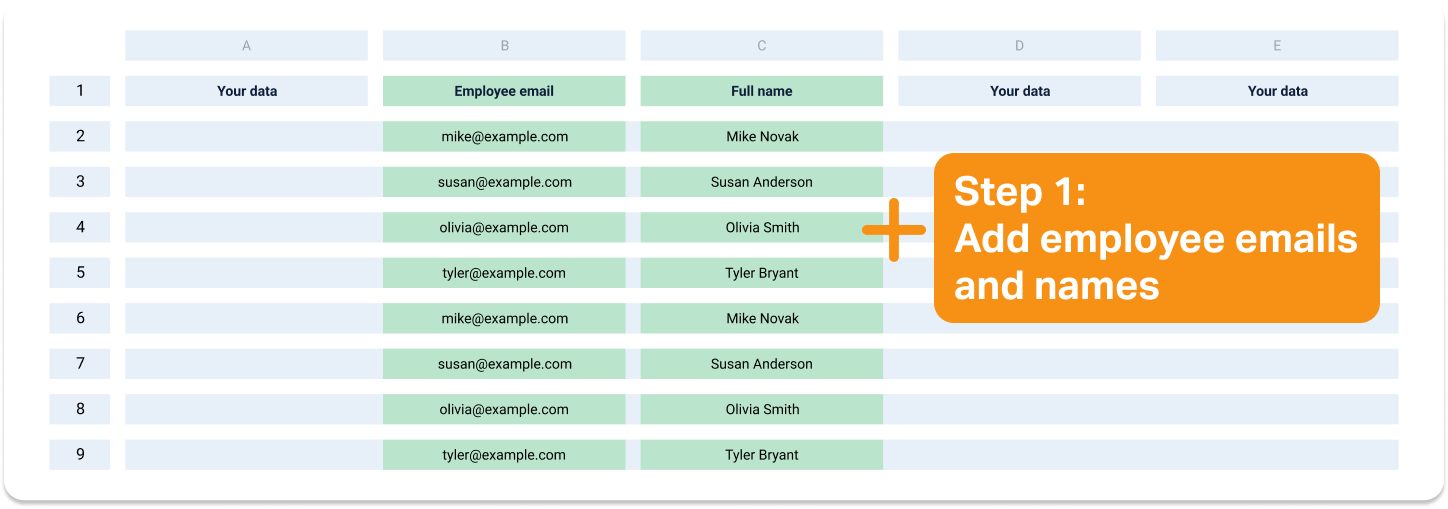
You need to add a few columns to your sheet if you want to track your employee activity in Plecto. See example
We check the first 50 rows to determine the field type (number, text, email, etc.), so make sure to check for typos – especially in the email column.
Here's a to-do list. Complete that, then move to Step 2.
-
Add a column with employee emails
-
Add a column with employee names
-
Use compatible date & time format (YYYY-MM-DD HH:MM:SS)
Step 2: Integrate your data
-
Go to Data sources > New data source > Google Sheets.
-
Click Next, sign in to your Google account, and click Allow to give Plecto to access your spreadsheets.
-
Choose a spreadsheet, then click Select.
-
Select the sheets you want to import. Each sheet will create one data source.
-
(Optional) Update the External ID, Created date, and Time zone. Hover over the question marks to see what each field does.
-
Configure your data source settings:
-
If applicable, choose the default date used in formulas. Decide what time stamp Plecto will use to calculate your data.
-
Employee field. Choose the column with your employee emails.
✋ Be careful – You can accidentally create a lot of new employee profiles in Plecto. The new profiles won't get login access, but they will be tedious to remove.
Employee field not coming up? – We check the first 50 rows to determine the field type. Make sure all your emails are spelled correctly (proper punctuation, no extra spaces, etc.).
-
Employee names. Choose the column with your employee names.
-
(Optional) If you happen to have a column for your teams, you can add them here.
-
-
Click Next to finish and import your data.
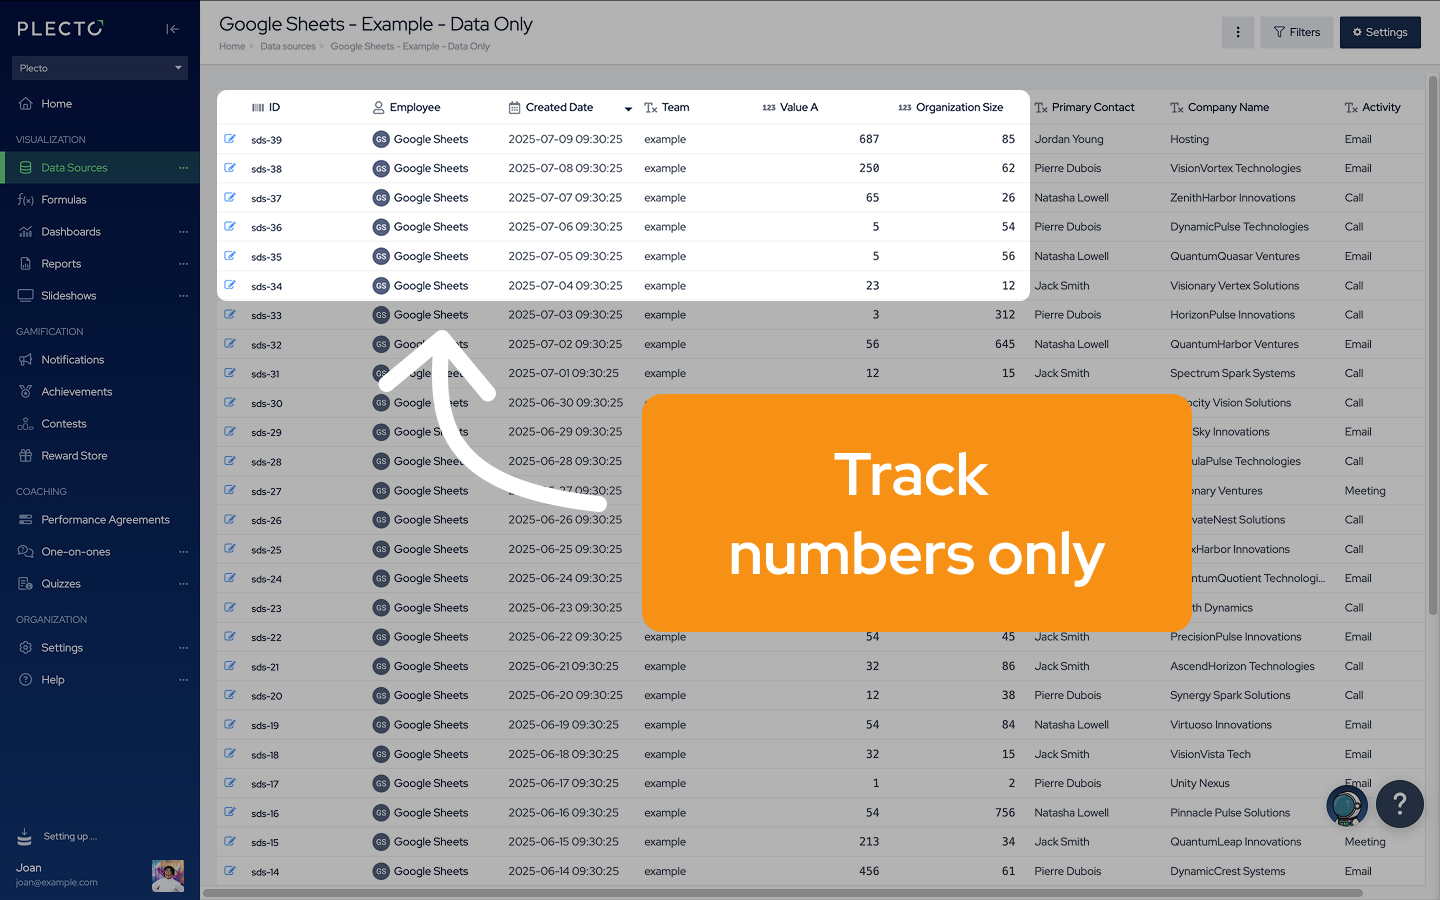
Track numbers only
If you simply want to track your data with no employee activity, here's what to do.
Step 1: Prepare your spreadsheet
✅ Structure your sheet like this:
| 1 | Column title | Column title | Column title |
|---|---|---|---|
| 2 | data | data | data |
| 3 | data | data | data |
✅ Use a compatible date and time format: YYYY-MM-DD HH:MM:SS
Example: 2023-02-19 17:48:23
Step 2: Integrate your data
-
Go to Data sources > New data source > Google Sheets.
-
Click Next, sign in to your Google account, and click Allow to give Plecto to access your spreadsheets.
-
Choose a spreadsheet, then click Select.
-
Select the sheets you want to import. Each sheet will create one data source.
-
(Optional) Update the External ID, Created date, and Time zone. Hover over the question marks to see what each field does.
-
Configure your data source settings:
-
If applicable, choose the default date used in formulas. Decide what time stamp Plecto will use to calculate your data.
-
Leave the team's field blank.
-
-
Click Next to import your data.
-
Plecto will create an employee profile for your Google Sheets integration that you can find on the Employees page. Check that the profile is active (in the Active tab), as you can only receive data from active profiles.
You're all set up now! Happy tracking 🎉
What now?
You've added your Google Sheets data to Plecto. Here's some more information about the integration. 💪
Useful information
- What data can I import and how?
One sheet = one data source
If your spreadsheet contains multiple sheets, you can select and import them all at once. Plecto will create one data source per sheet and store it in Data sources.
- Field types and format
We look at the first 50 rows of a column to determine their type (text, number, date). If there are different types in one column, we consider it a text field.
Some lookup functions in the formula editor won't show Text fields for calculations, so make sure the columns in your spreadsheet are formatted correctly.
- What about calculations?
Plecto will import cells with calculations as static numbers. However, we don't support non-deterministic formulas such as NOW() and GOOGLEFINANCE().
- Update frequency
Plecto checks for new data every 15 minutes and runs an automatic data import. You can change the update frequency as well as see the import logs in the data source settings.
- Automatic data import and deletion
Each time Plecto runs an automatic data import from Google Sheets, it imports the entire spreadsheet. Since we can’t identify what specific data has been changed in the spreadsheet, we have to handle imports this way.
Plecto supports automatic data deletion for this integration. If you delete rows in the spreadsheet, Plecto will delete the corresponding registrations along with the next data import.
- Created date
When you create a data source, you have the option to select which column from your sheet should substitute the Created date field in the data source.
If you leave it at None, all registrations will have the same created date and time, which is the time of the last automatic import, and the values will update automatically along with the latest import.
-
Terms we use in the article:
-
automatic data import – the act of automatically pulling data from your Google Sheets into Plecto
-
column/field – a column in Google Sheets spreadsheet is called a field in a Plecto data source
-
row/registration – one row in a Google Sheets spreadsheet represents one registration in a data source in Plecto
-
sheet – refers to a single sheet within a spreadsheet
-
spreadsheet – refers to the entire Google Sheets file
-
update frequency – how often Plecto checks for data and updates the data source
-
Troubleshooting
Importing issues
-
Have you renamed your sheet? When Plecto looks for the data, it uses the spreadsheet ID and the sheet name. If you rename the sheet, the automatic imports will stop, so do not rename the sheet.
-
You can't import Excel files (.xlsx) even if they are on your Google Drive. This integration only supports Google Sheets files. Instead, you can import your Excel file into Google Sheets and use that Google Sheets spreadsheet to integrate with Plecto.
Employees
- If you only see employee emails in the Employee field, open the data source settings and check Use this field as the member in Plecto (should contain employee emails from your sheet) and Employees' names (should contain employee names from your sheet). Update the fields > click Save > then click Import more data to update your data source.
Missing registrations
-
Check if all the rows in the sheet have external IDs. Plecto will only import those spreadsheet rows that have an external ID. This doesn't apply if you use row numbers as the external ID.
-
Are you tracking data only? If so, Plecto has created an employee profile for the integration called Google Sheets. Go to the Employees page and make sure that your Google Sheets profile is activated.
Dashboard not showing data
-
Check the default date in the data source settings. If the default date is the Created date (also called Date in the dropdown), you should change it. The Created date updates along with each automatic import, so it's not a reliable data point to measure the KPIs by.
-
Can't see your employees? Have you changed the Employee field (also called Use this field as the member in Plecto)? If you don’t change the default member field in the data source settings, all registrations will be associated with an employee called Google Sheets.