Sign in
How to Create a Notification
Step 1: Add actions to your notification timeline
-
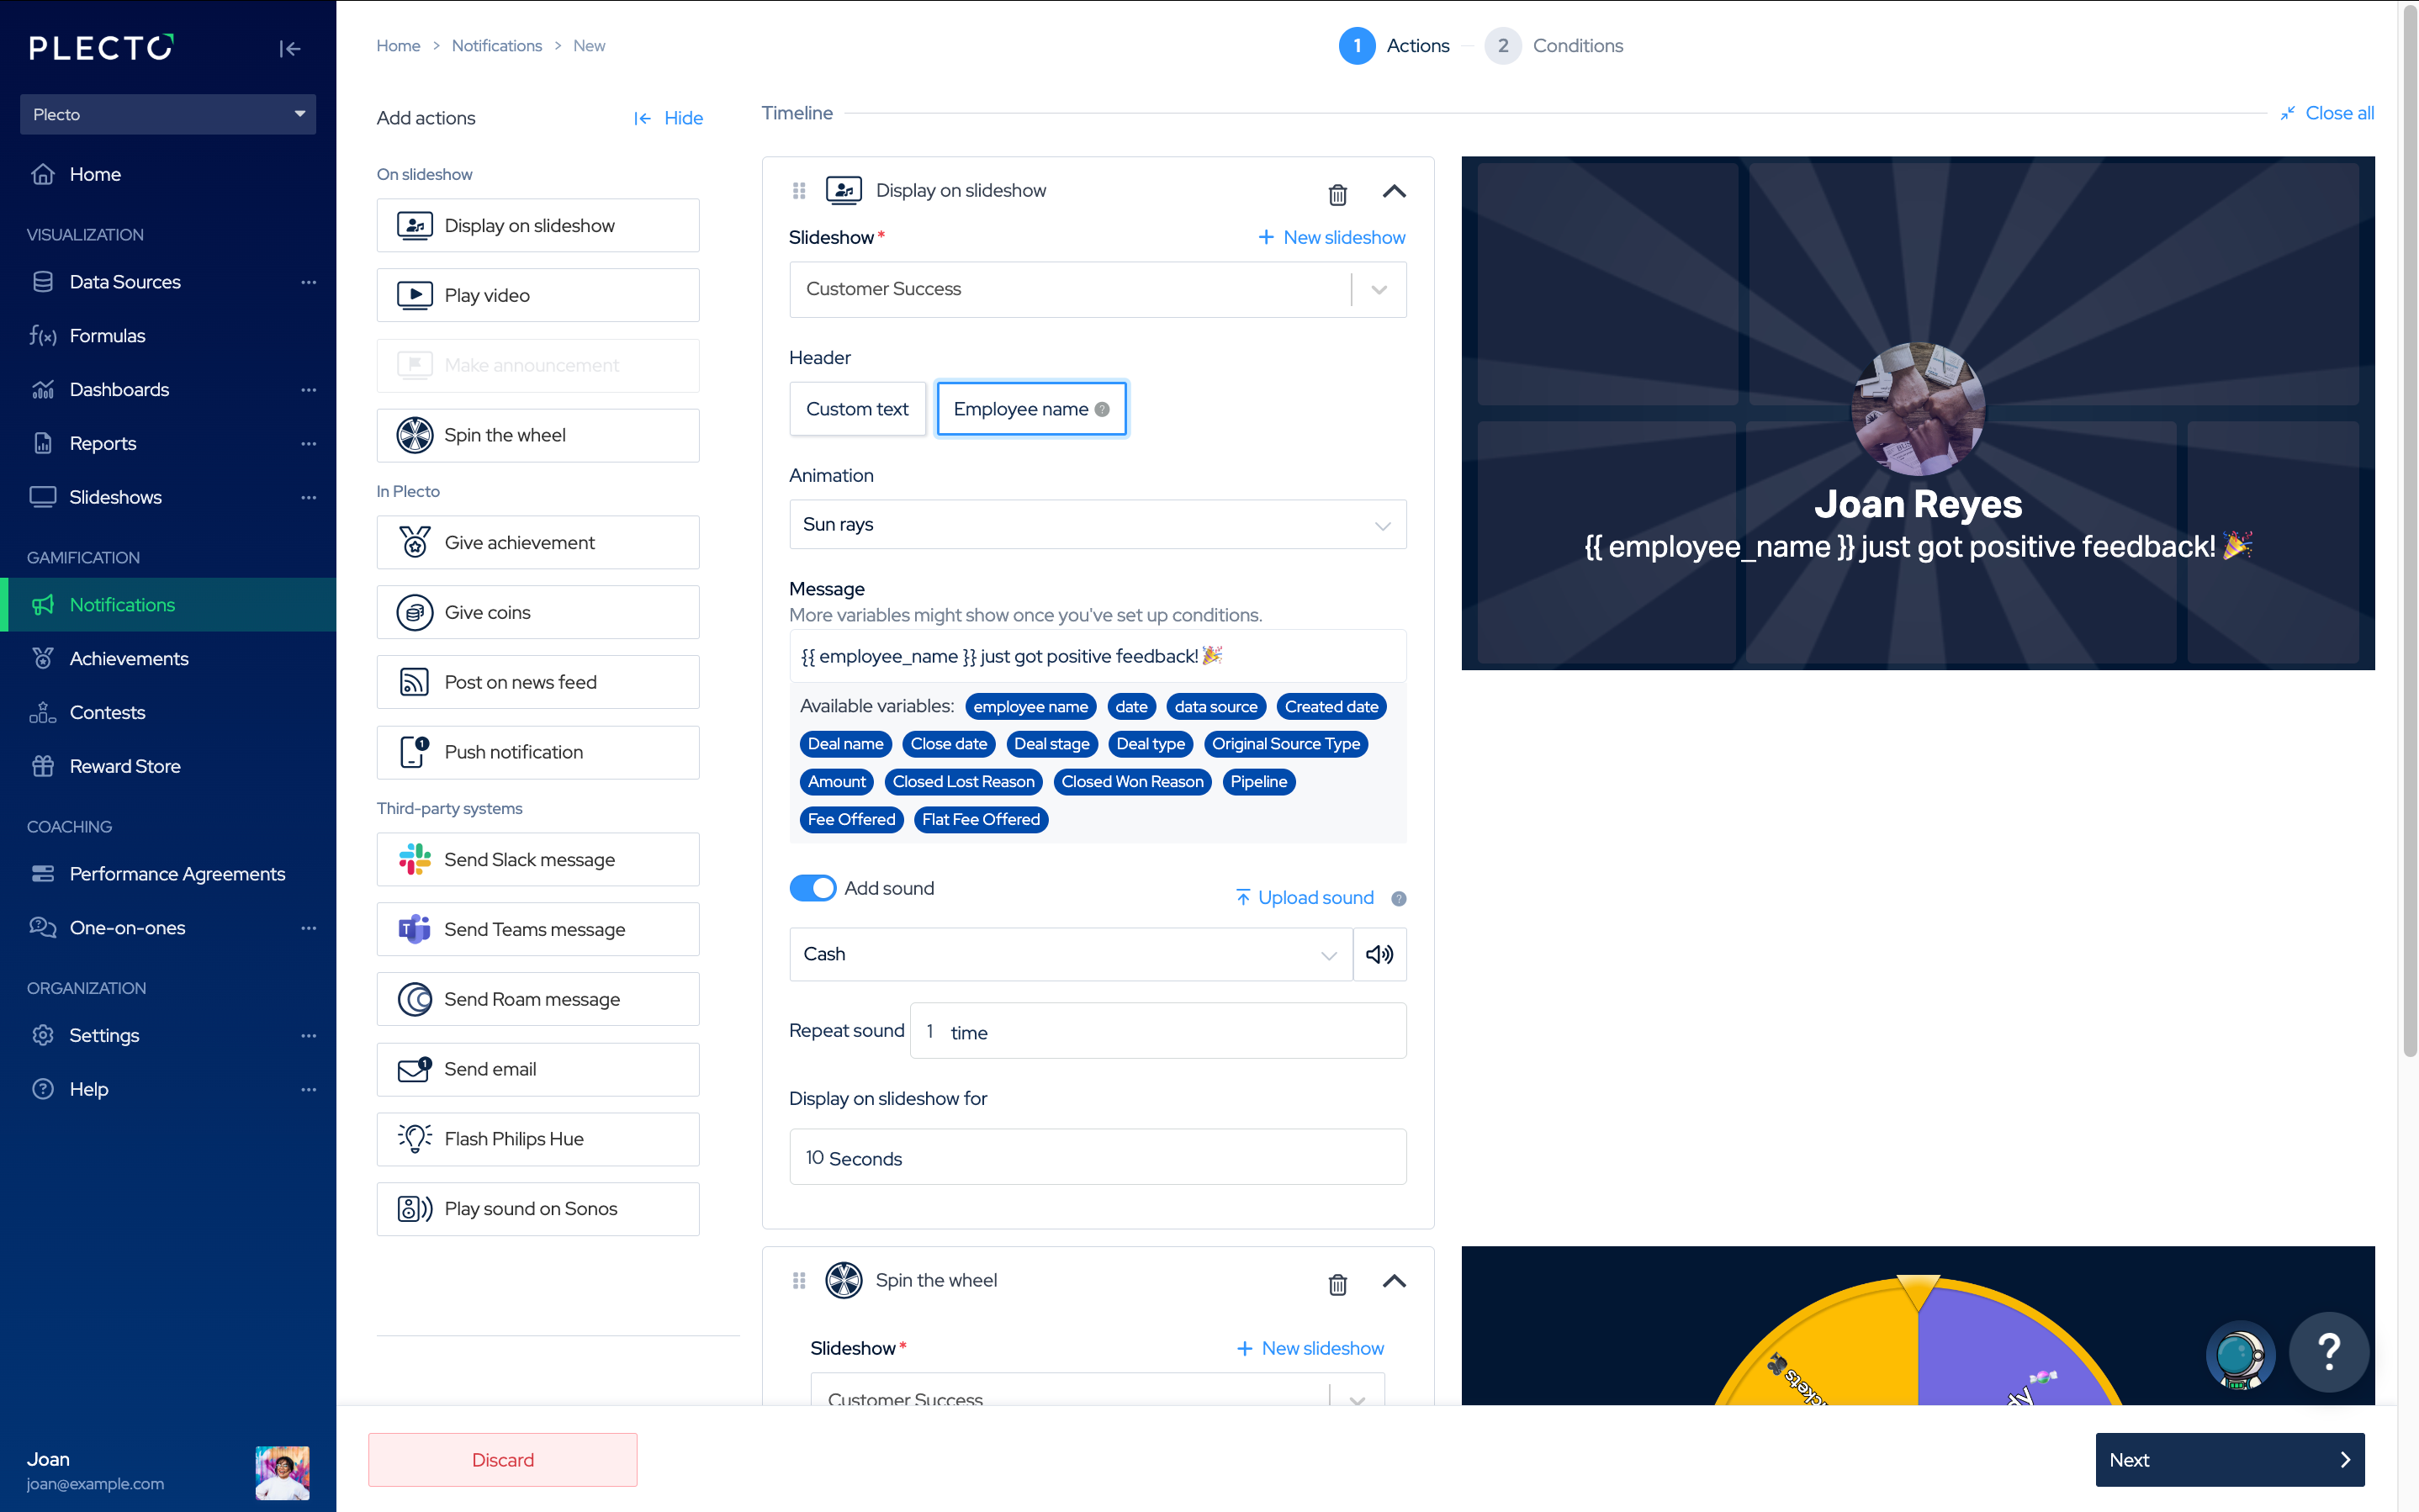
In Plecto, go to Notifications > New notification.
-
Build your timeline by adding actions from the menu on the left. You can add one action or combine several in the same notification.
- All actions will launch together once the Conditions (set in Step 2) are met.
-
For actions with a Message field, type the text you want displayed when the notification launches.
-
You can insert variables to dynamically include data from your data sources or formulas.
-
For more customization, you can return to this step after you've set up Conditions in Step 2, to see which variables are available.
-
-
Click Next to configure the Conditions.
💡 Tip: Use the action previews to check how your notification will look when it launches.
Step 2: Set the conditions that trigger your notification
Decide when the notification should launch. You can choose one of the following:
-
New or Updated Registration. Trigger the notification whenever a new registration is added to a data source or an existing one is updated.
-
Formula Result. Trigger the notification when a formula meets your defined target (for example: Booked meetings ≥ 40).
-
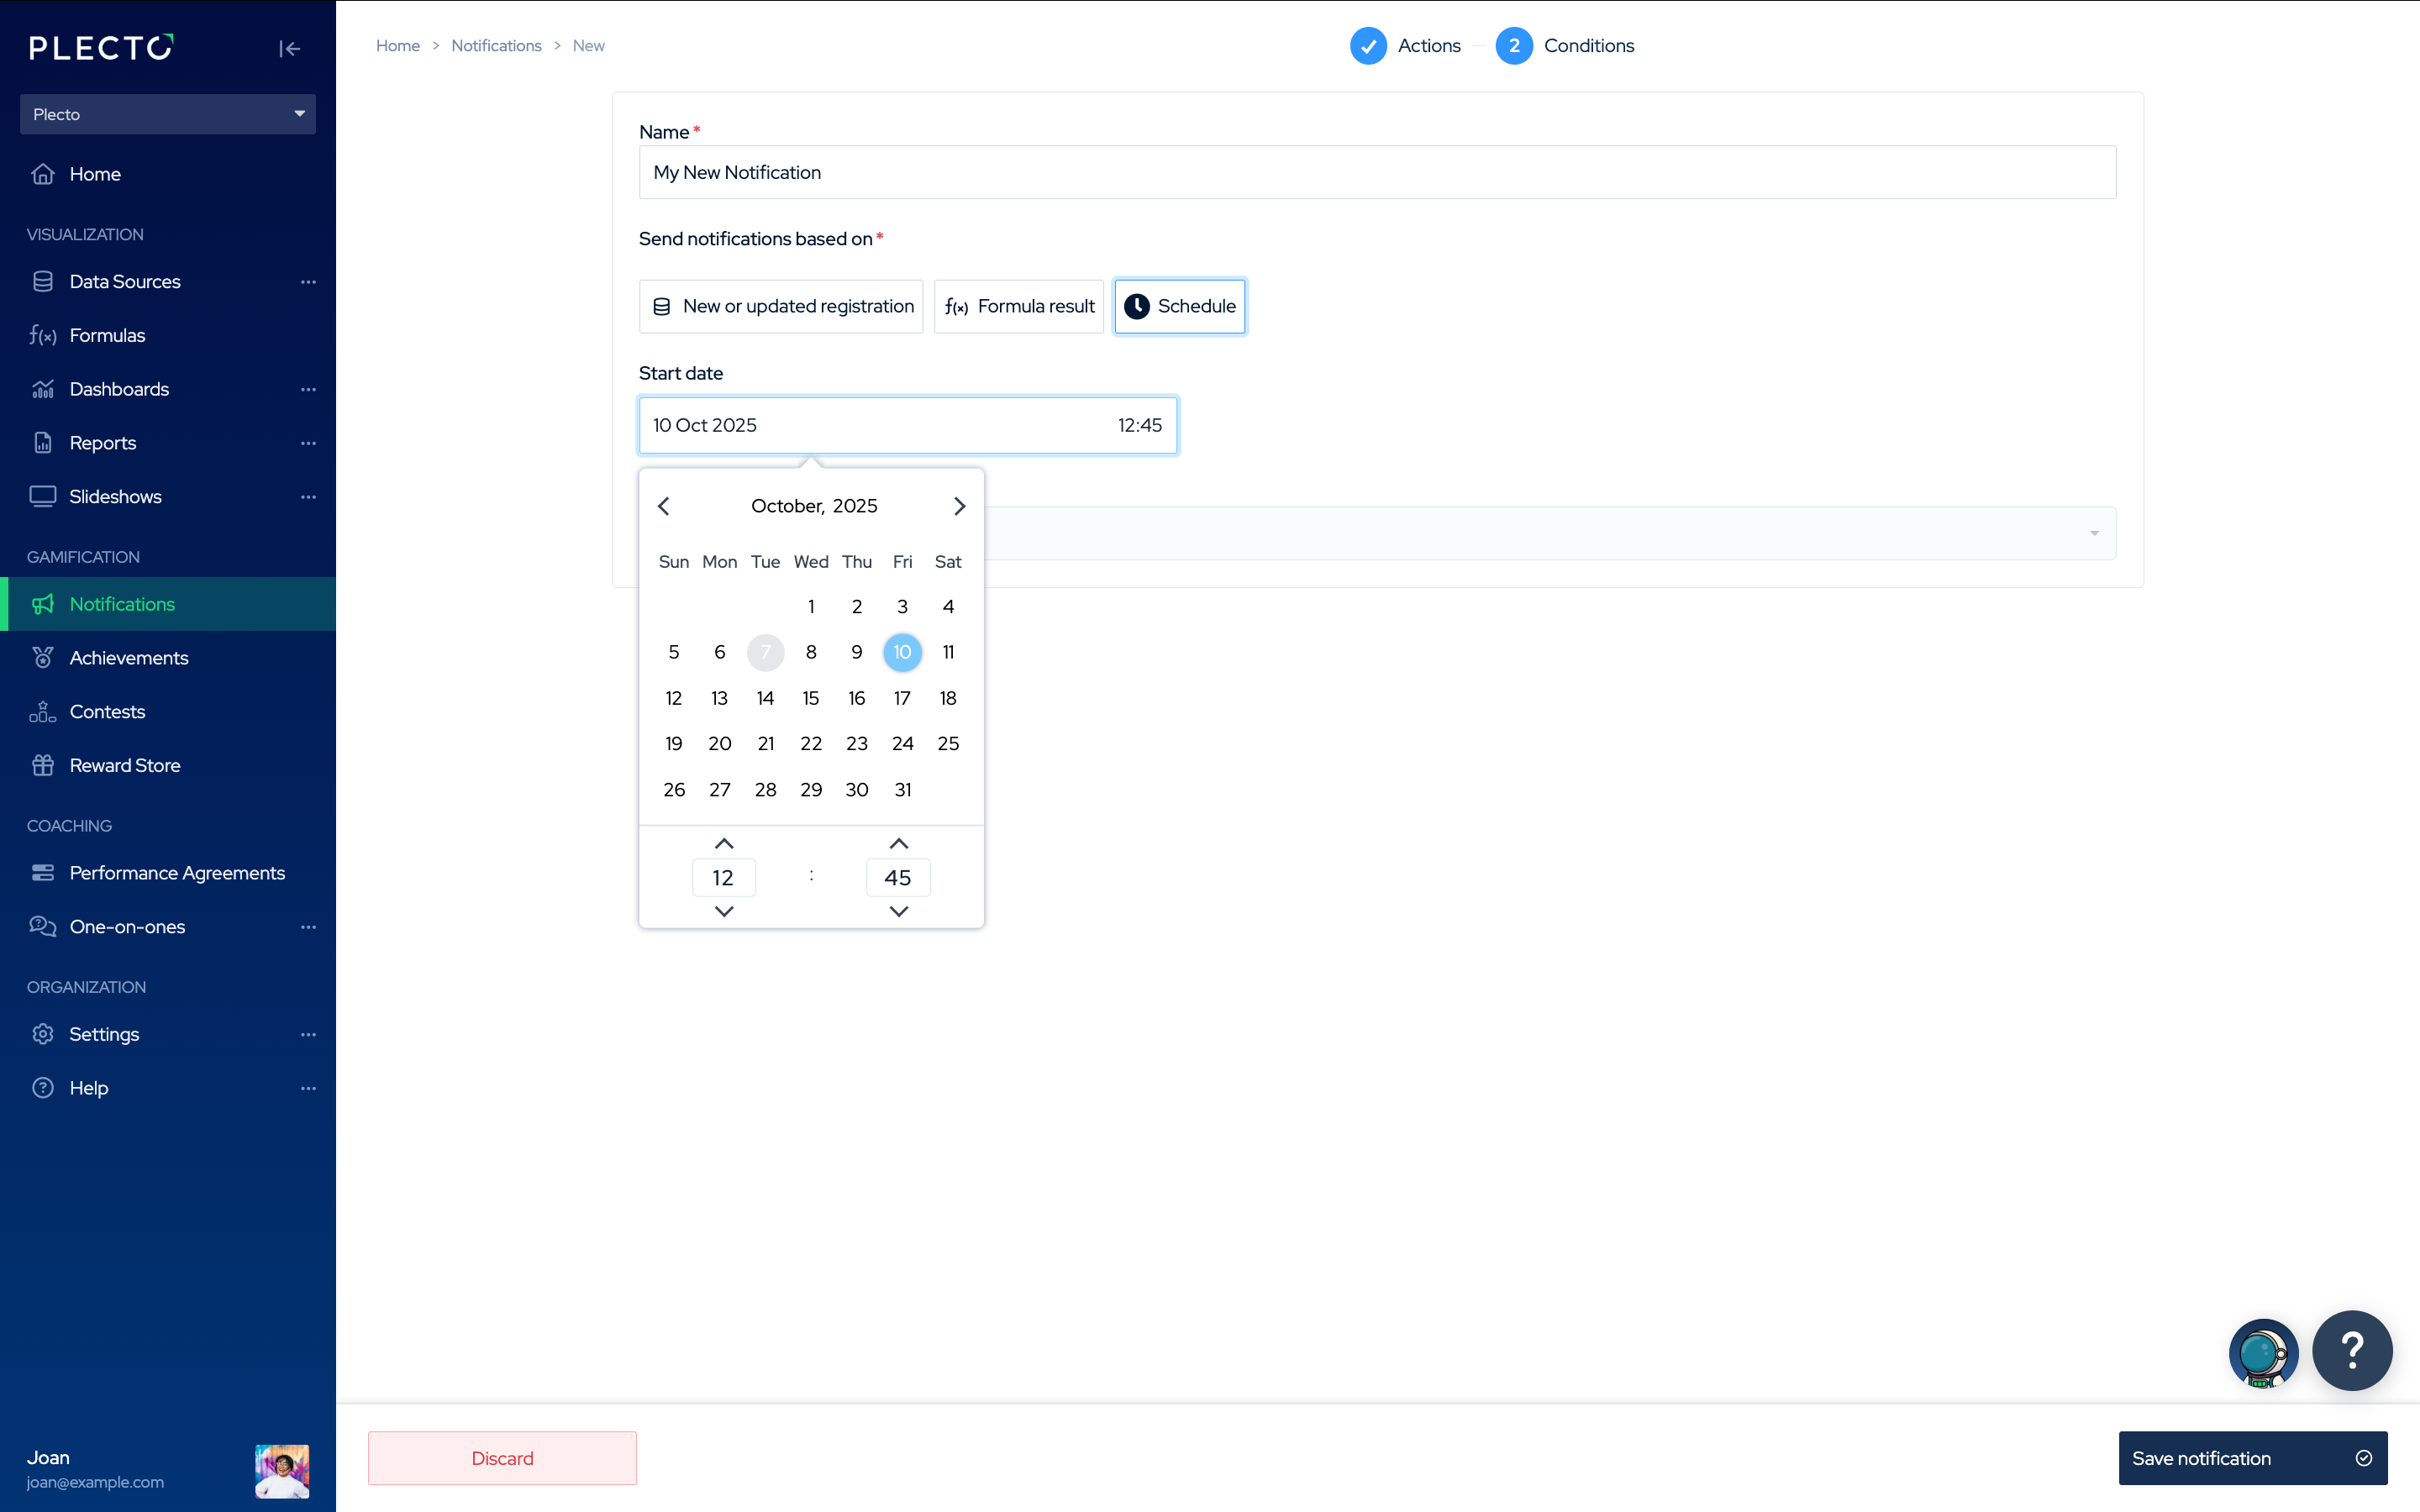
Schedule. Launch the notification at a specific time, independent of data or performance.
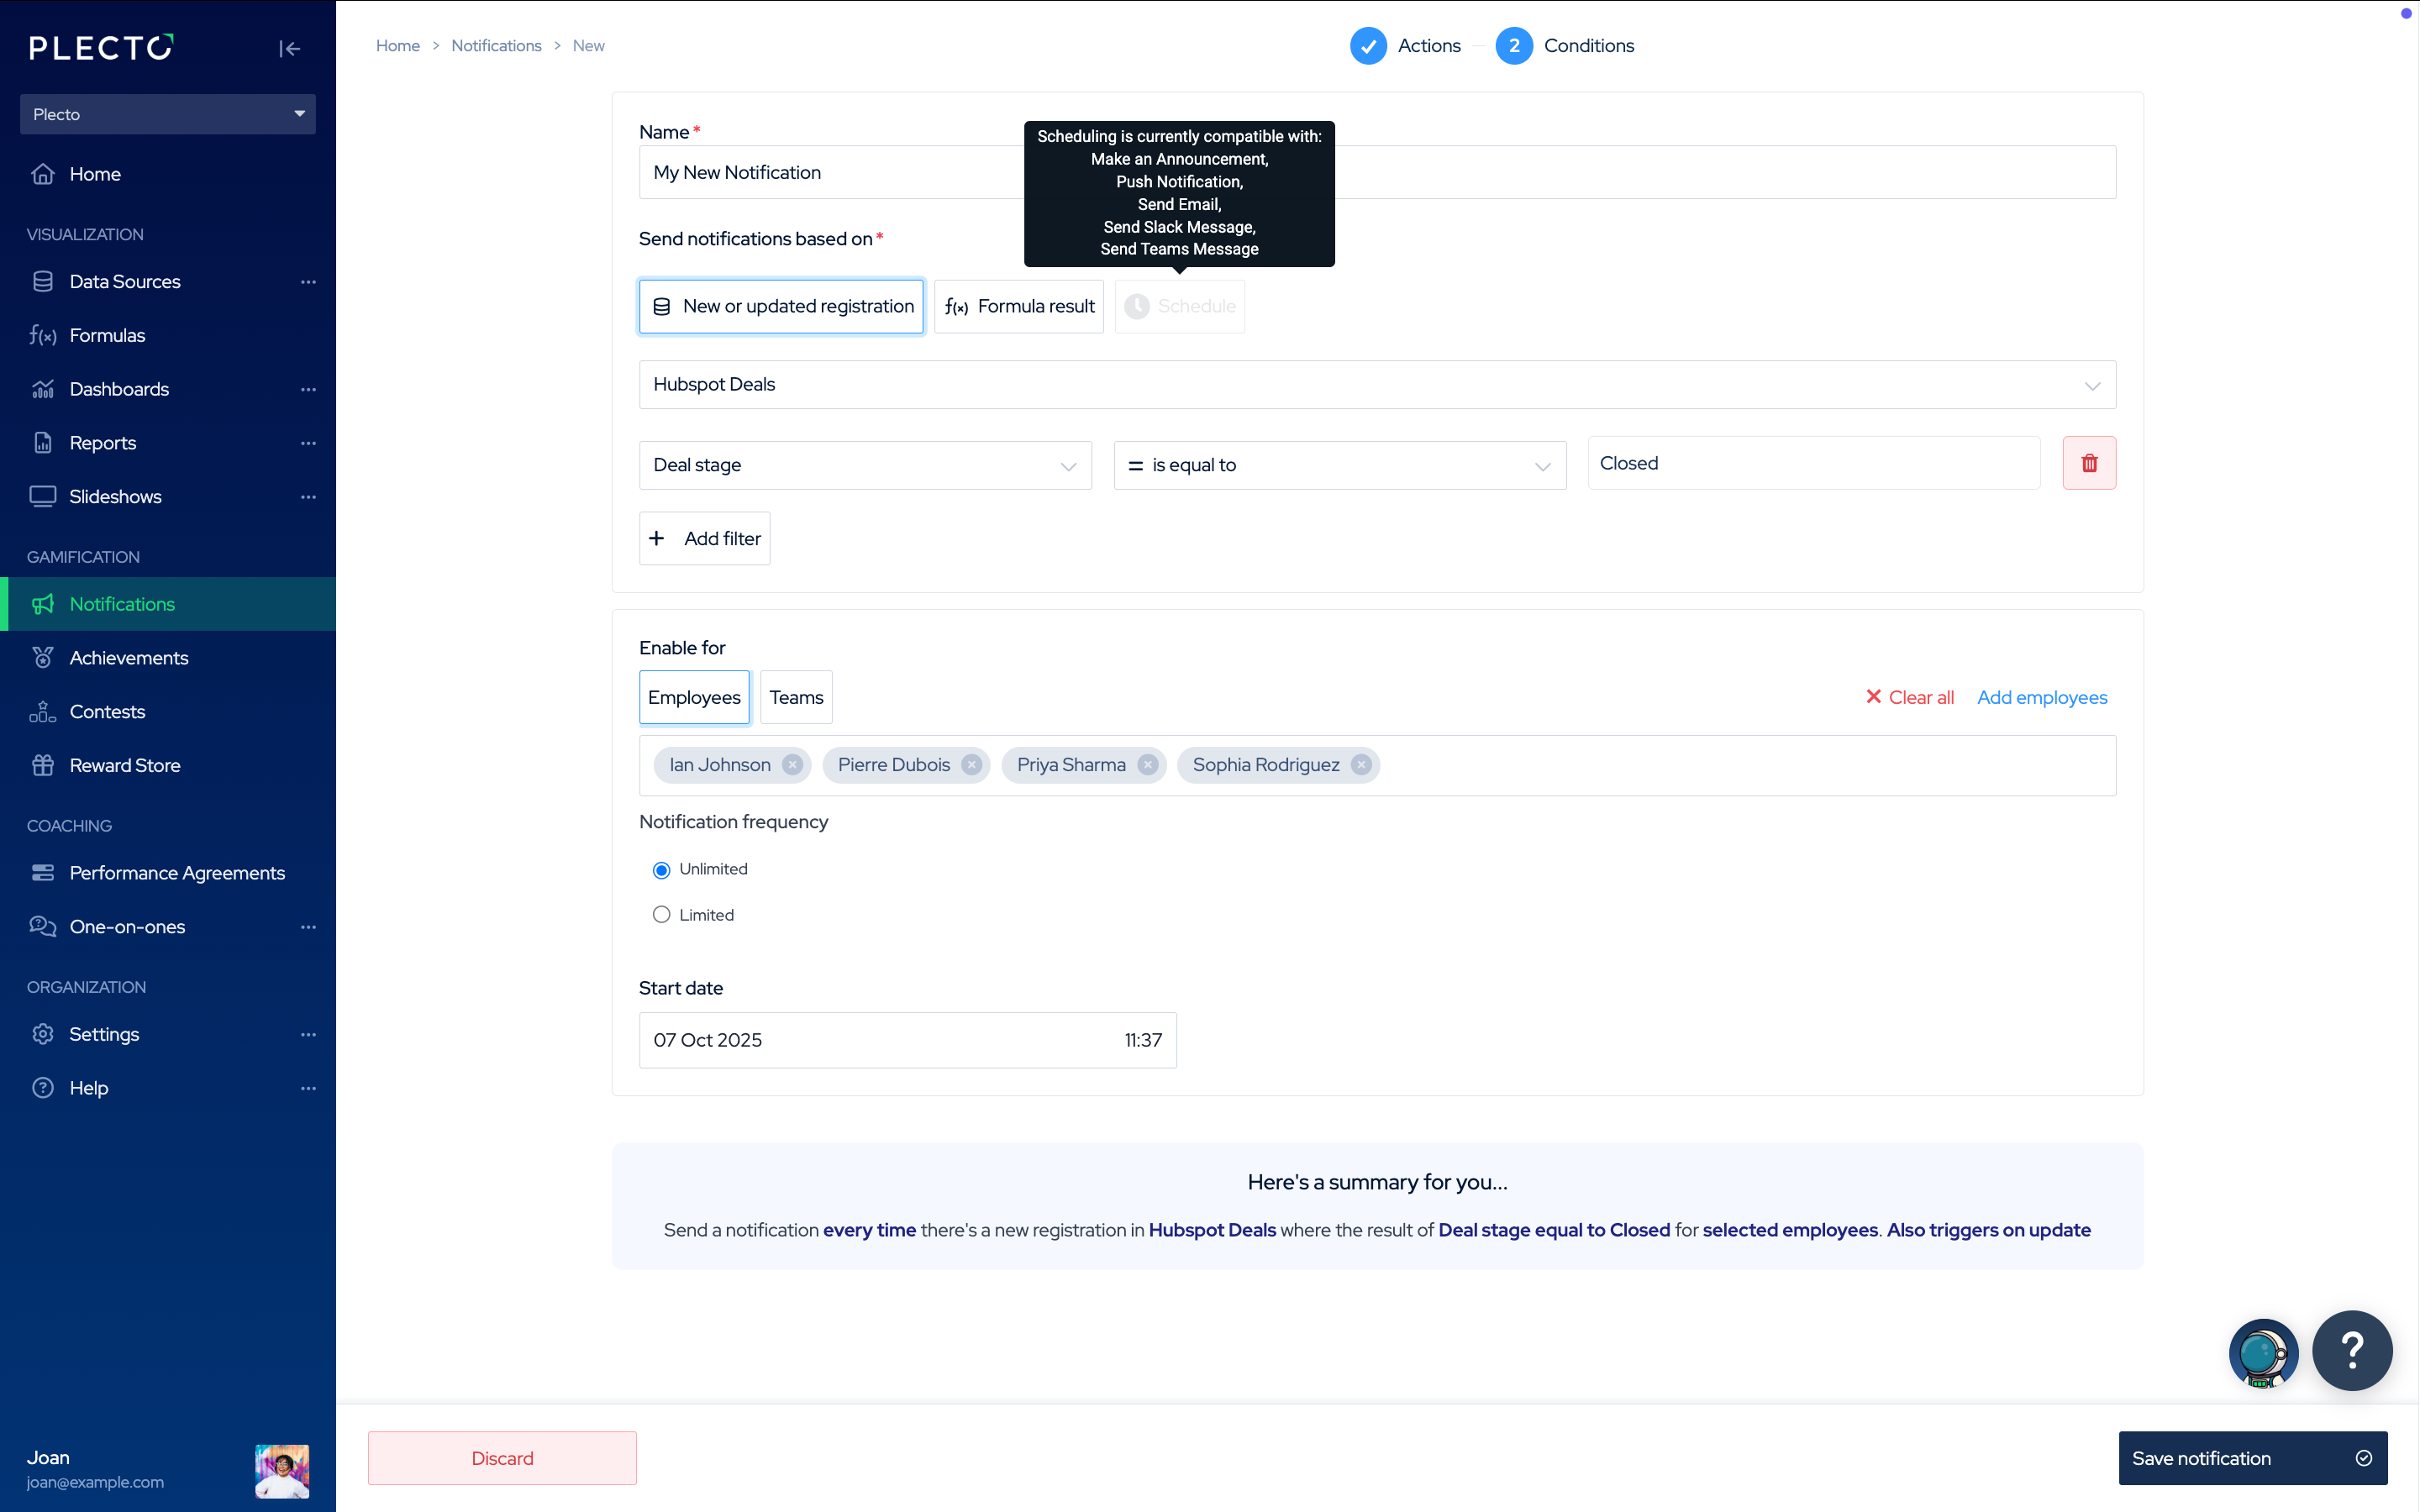
- 👉 Scheduling is currently only compatible with the following actions: Make announcement, Push notification, Send email, Send Slack message, Send Microsoft Teams message.
Click the options below to learn how to set up each specific condition.
Notification Based on a New or Updated Registration
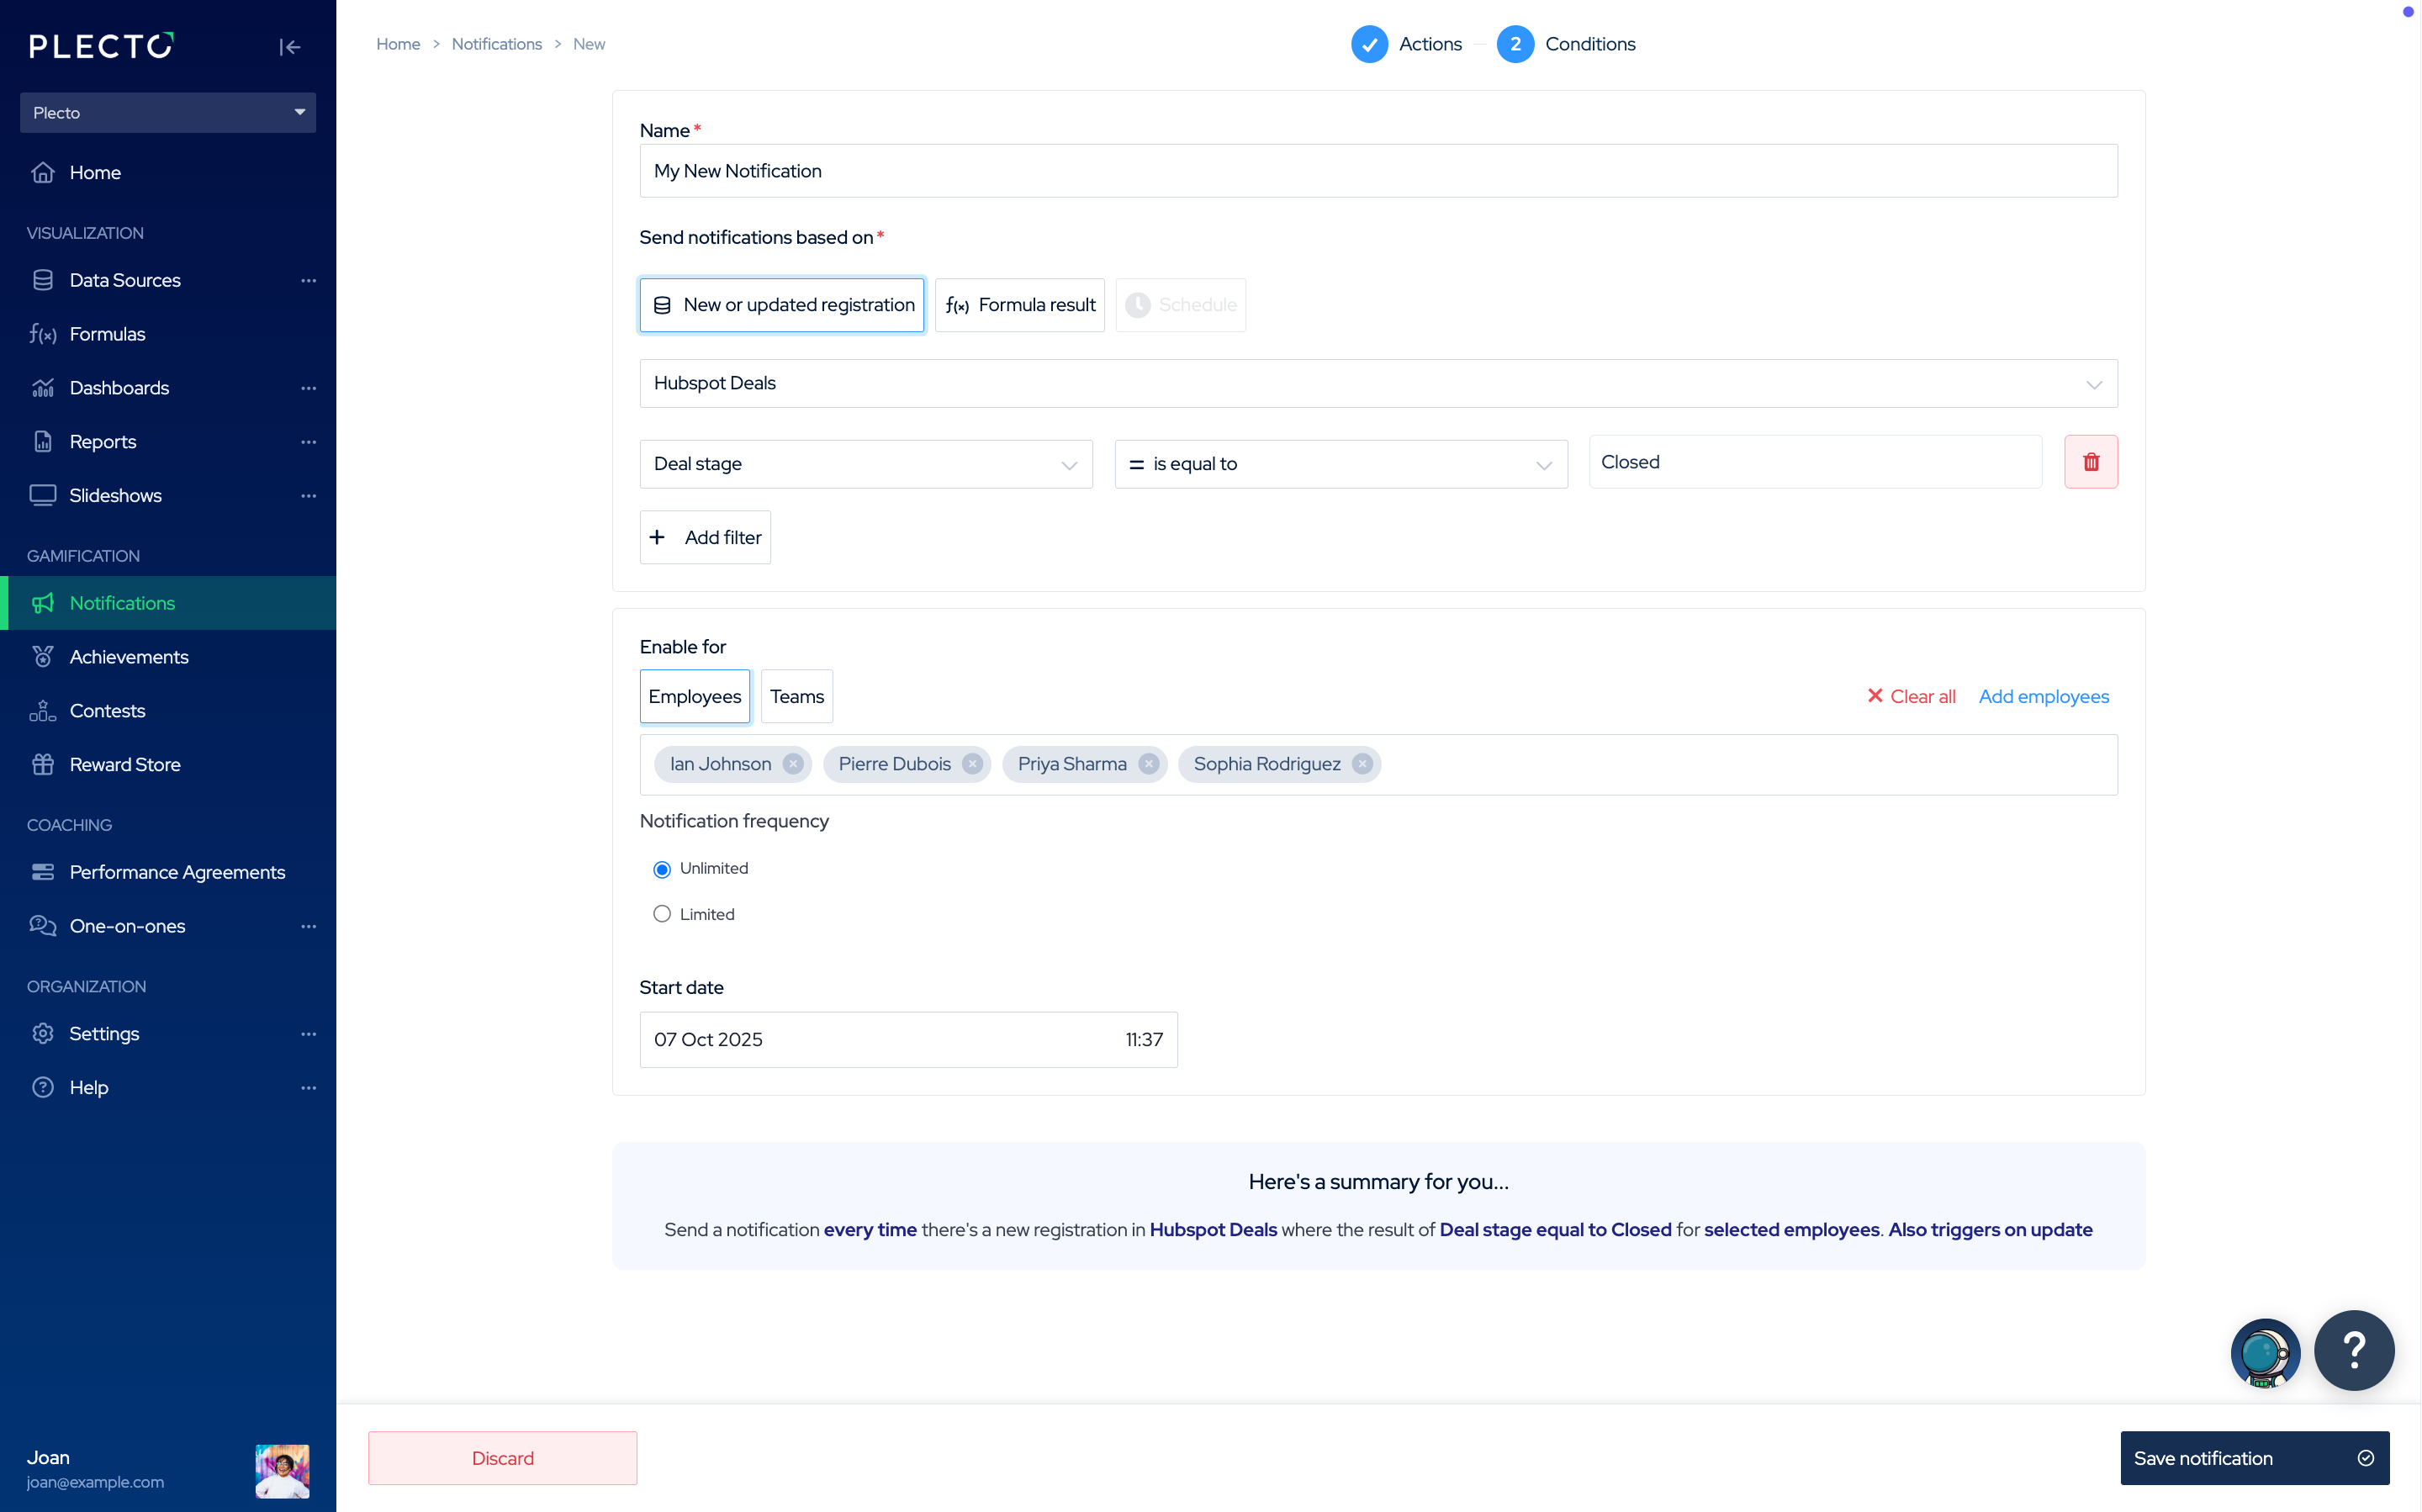
Follow these steps to trigger a notification when new data is added to a source or an existing registration is updated.
-
Choose a data source. Select the data source where Plecto should look for trigger conditions.
-
(Optional) Add filters. Filters let you narrow down when the notification should trigger. Without filters, the notification will trigger for every new or updated registration. Filtering is case-sensitive.
-
Examples of filters:
-
Status = won → Triggers when the status of a sales opportunity changes to “won.”
-
Amount >= 5000 → Triggers when the value in the Amount field is 5000 or higher.
-
Score > 8 → Triggers when an employee receives a rating above 8.
-
-
Changed by filter:
-
This option compares the difference between the old and new values in a registration.
- Example: If the current value is 100 and the filter is set to Changed by 30, the notification will trigger if the value changes to 130 or 70.
-
-
👉 You can add one or multiple filters and use them as your targets.
-
-
Enable for specific employees or teams. Choose who can trigger the notification.
-
Choose the notification frequency
-
Unlimited – Launch the notification every time the conditions are met.
-
Limited – Trigger the notification only once per day, week, month, quarter, etc. You’ll be notified the first time the conditions are met, but not again until the next period.
-
-
Select a start date. The notification will only look for triggers from this date and time onwards.
-
Click Save to finish.
💡 Tip: The Conditions summary at the bottom shows your current setup and helps you verify or adjust the settings before saving.
Scheduled Notification
Scheduled notifications let you launch actions at a specific time, independent of data or performance.
Currently, scheduling is compatible with the following notification actions:
-
Make announcement
-
Push notification
-
Send an email
-
Send a Slack message
-
Send a Microsoft Teams message
---
Examples of scheduled notifications
-
📧 Send an email on Friday at 3:30 PM
-
🧹 Remind the team to clean out the storage room on a chosen day
-
🍽️ Post a lunchtime reminder on Slack or Microsoft Teams and wish your team bon appétit!
You can also set up recurring schedules, so your notification repeats automatically every day, week, month, and so on. See Recurring Notifications for how to set the repeat interval and pick weekdays.
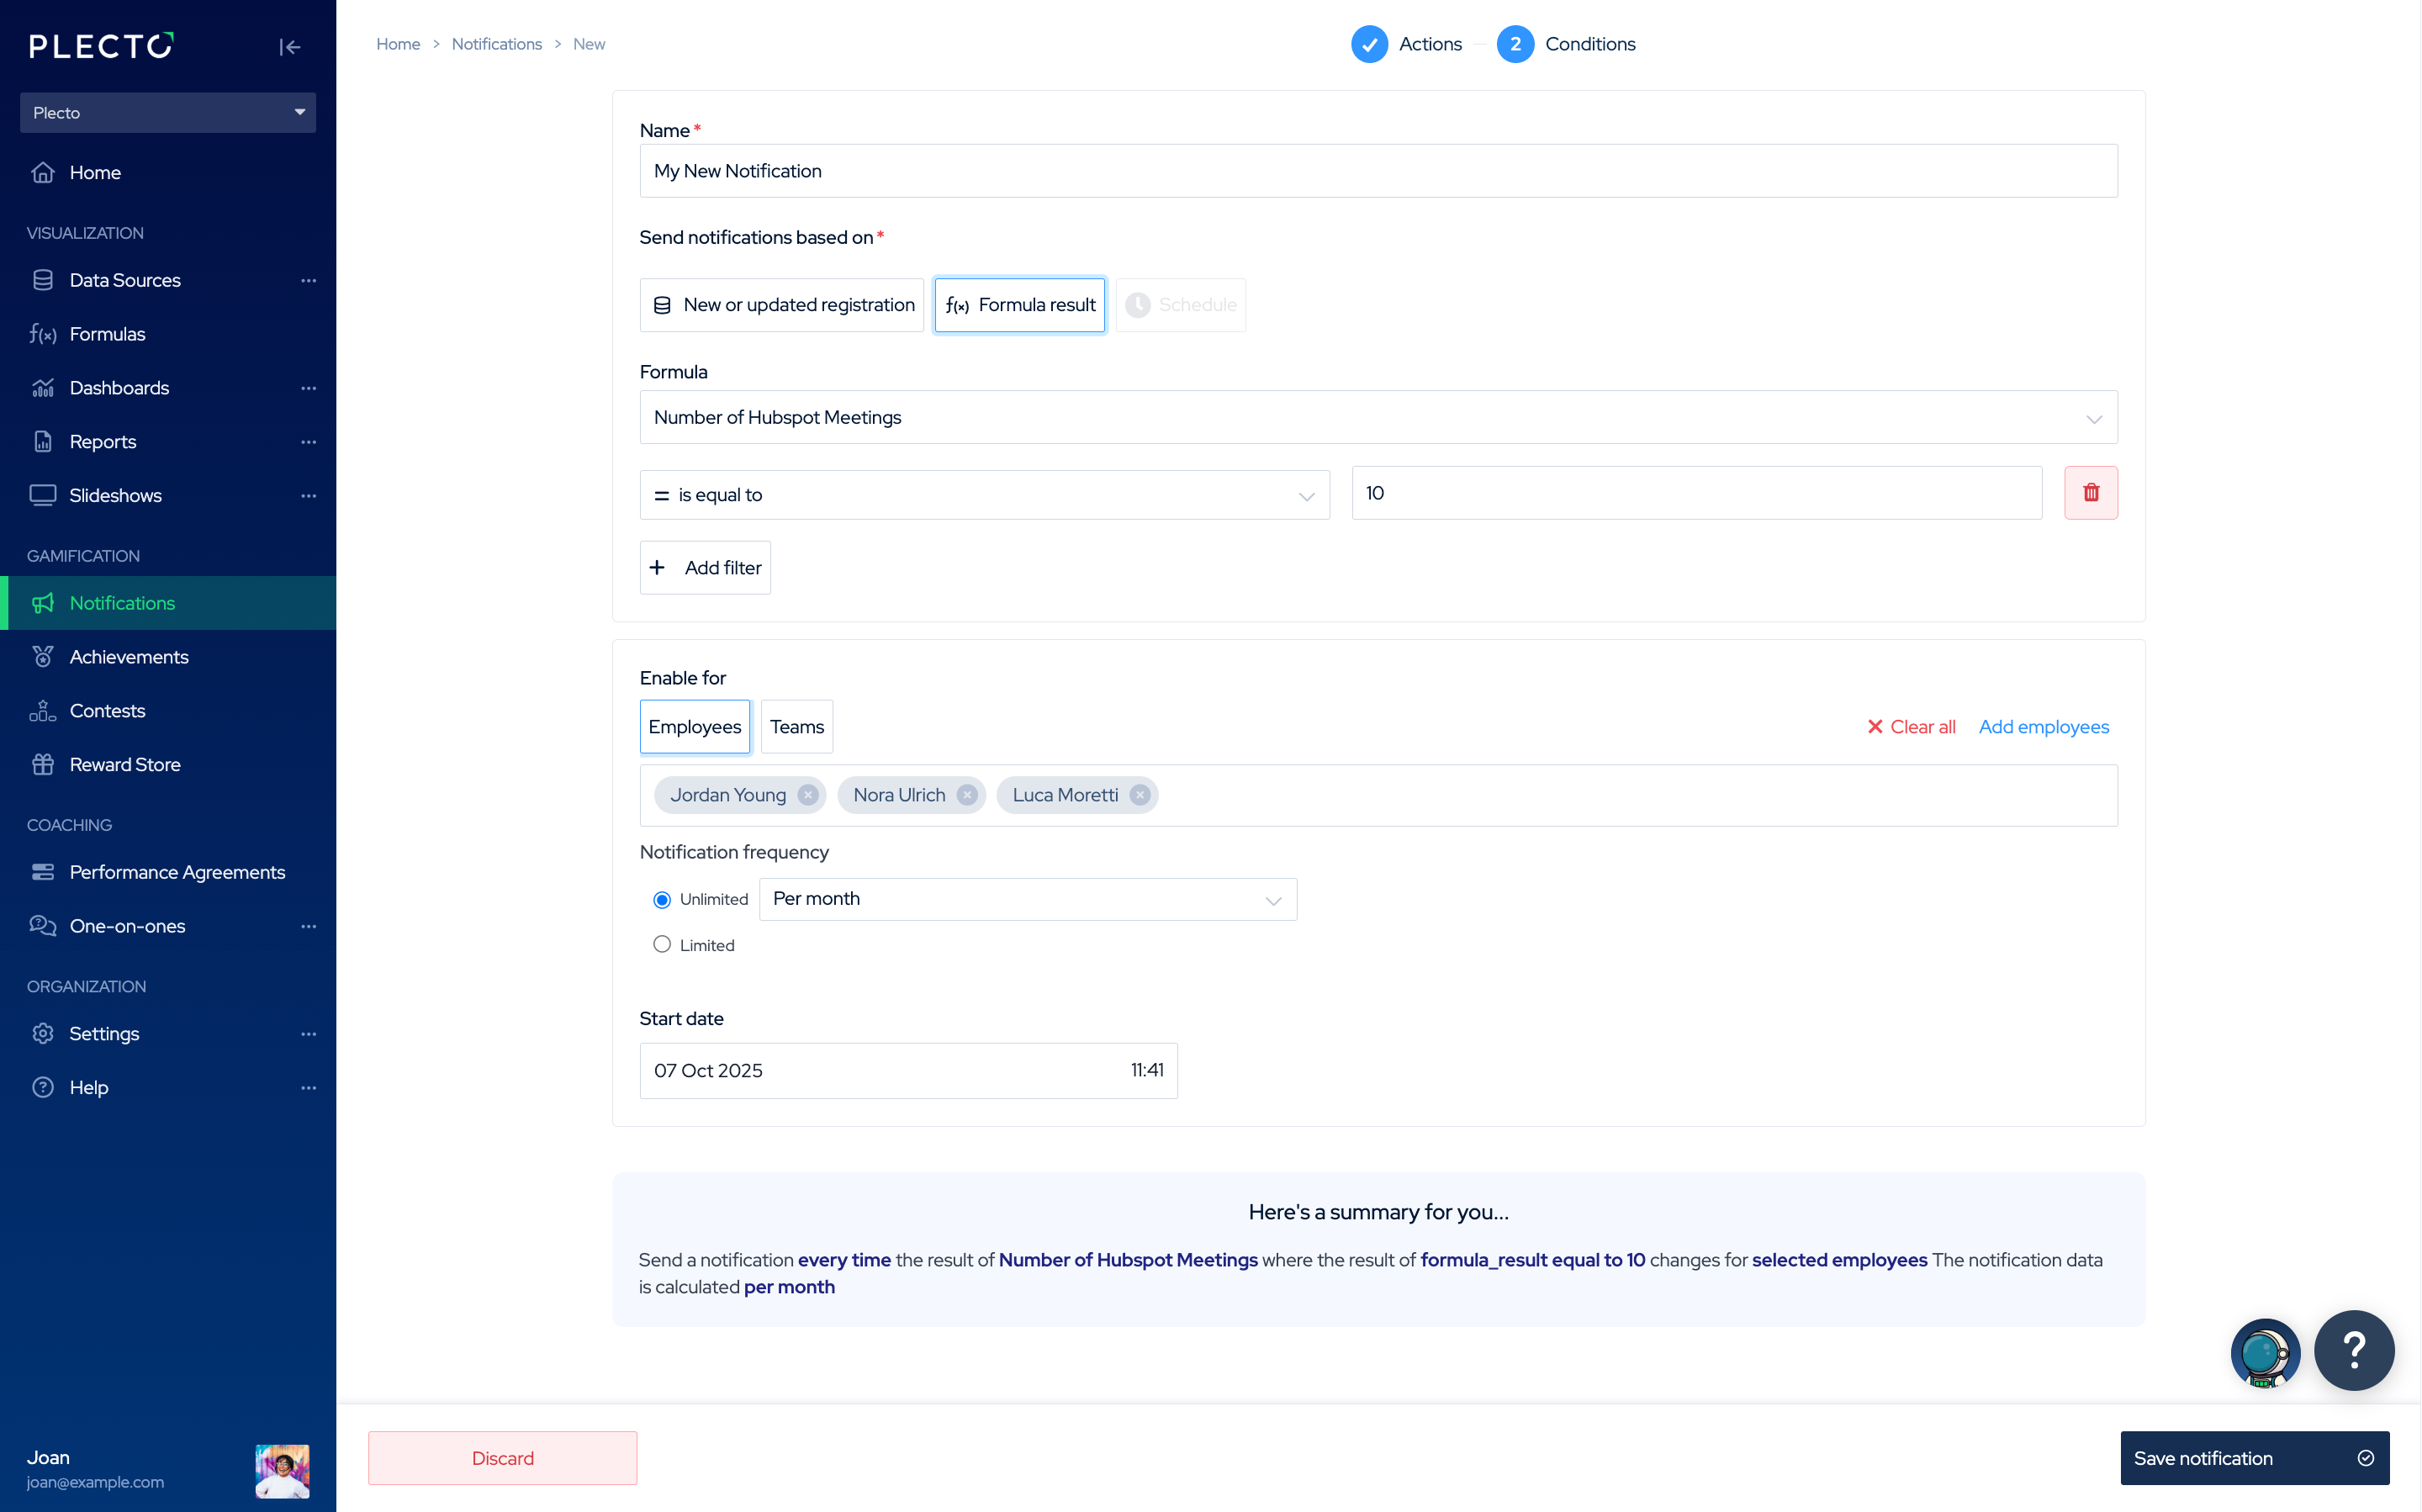
Notification Based on the Result of a Formula
Use this option to trigger a notification when a formula result changes or meets specific filter conditions.
-
Choose a formula. Select the formula where Plecto should look for trigger conditions.
-
(Optional) Add filters. Without filters, the notification will trigger every time your formula updates. Adding filters helps you define more precise conditions.
-
Examples of filters:
-
Formula result >= 30 → Trigger when the number of won deals reaches 30 or more.
-
Formula result = 50 → Trigger when you’ve made 50 outbound calls.
-
-
Changed by filter: This option compares the difference between the previous and new formula result.
- Example: If you currently have 30 booked meetings and the filter is set to Changed by 10, the notification will trigger when the result increases to 40 or decreases to 20.
-
👉 You can add one or multiple filters depending on your needs.
-
-
Enable for specific employees or teams. Choose who can trigger the notification.
-
Choose how to calculate the result. Decide whether the formula should be calculated per employee, per team, or across multiple teams.
-
For each employee on the selected teams. Calculates results individually for each employee. Add all relevant teams. Sub-teams will not trigger if only the parent teams are added.
-
For each selected team. Calculates results separately for each team. Make sure to add every team you want included. Sub-teams won’t trigger if only the parent is added.
-
For all selected teams combined. Calculates one total result across all selected teams. Adding just the parent team is enough here — all sub-teams will be included automatically.
-
For each selected employee. Calculates results only for the specific employees you add. If an employee profile is deactivated, they’ll be removed automatically. If reactivated, you’ll need to add them back manually.
-
-
Set the notification frequency. Control how often the notification should trigger:
-
With filters, it triggers whenever the filter condition is met.
-
Without filters, it triggers every time the formula updates.
You can also limit the frequency:
-
Example: If Compare to formula result is set to For each selected team and the frequency is Once per day, the notification will trigger once per day per team.
-
If no limit is set, Plecto will use today’s data to calculate the formula result and trigger notifications whenever the condition is met.
-
-
Select a start date. The notification will only look for triggers from this date and time onwards.
-
Click Save to finish.
💡 Tip: The Conditions summary at the bottom shows your current setup and helps you verify or adjust the settings before saving.