Sign in
How to Create a Dashboard
How to create a dashboard in Plecto
There are three ways how you can create dashboards in Plecto:
-
Use the Dashboard Builder
-
Start with an empty dashboard and build your own KPIs
-
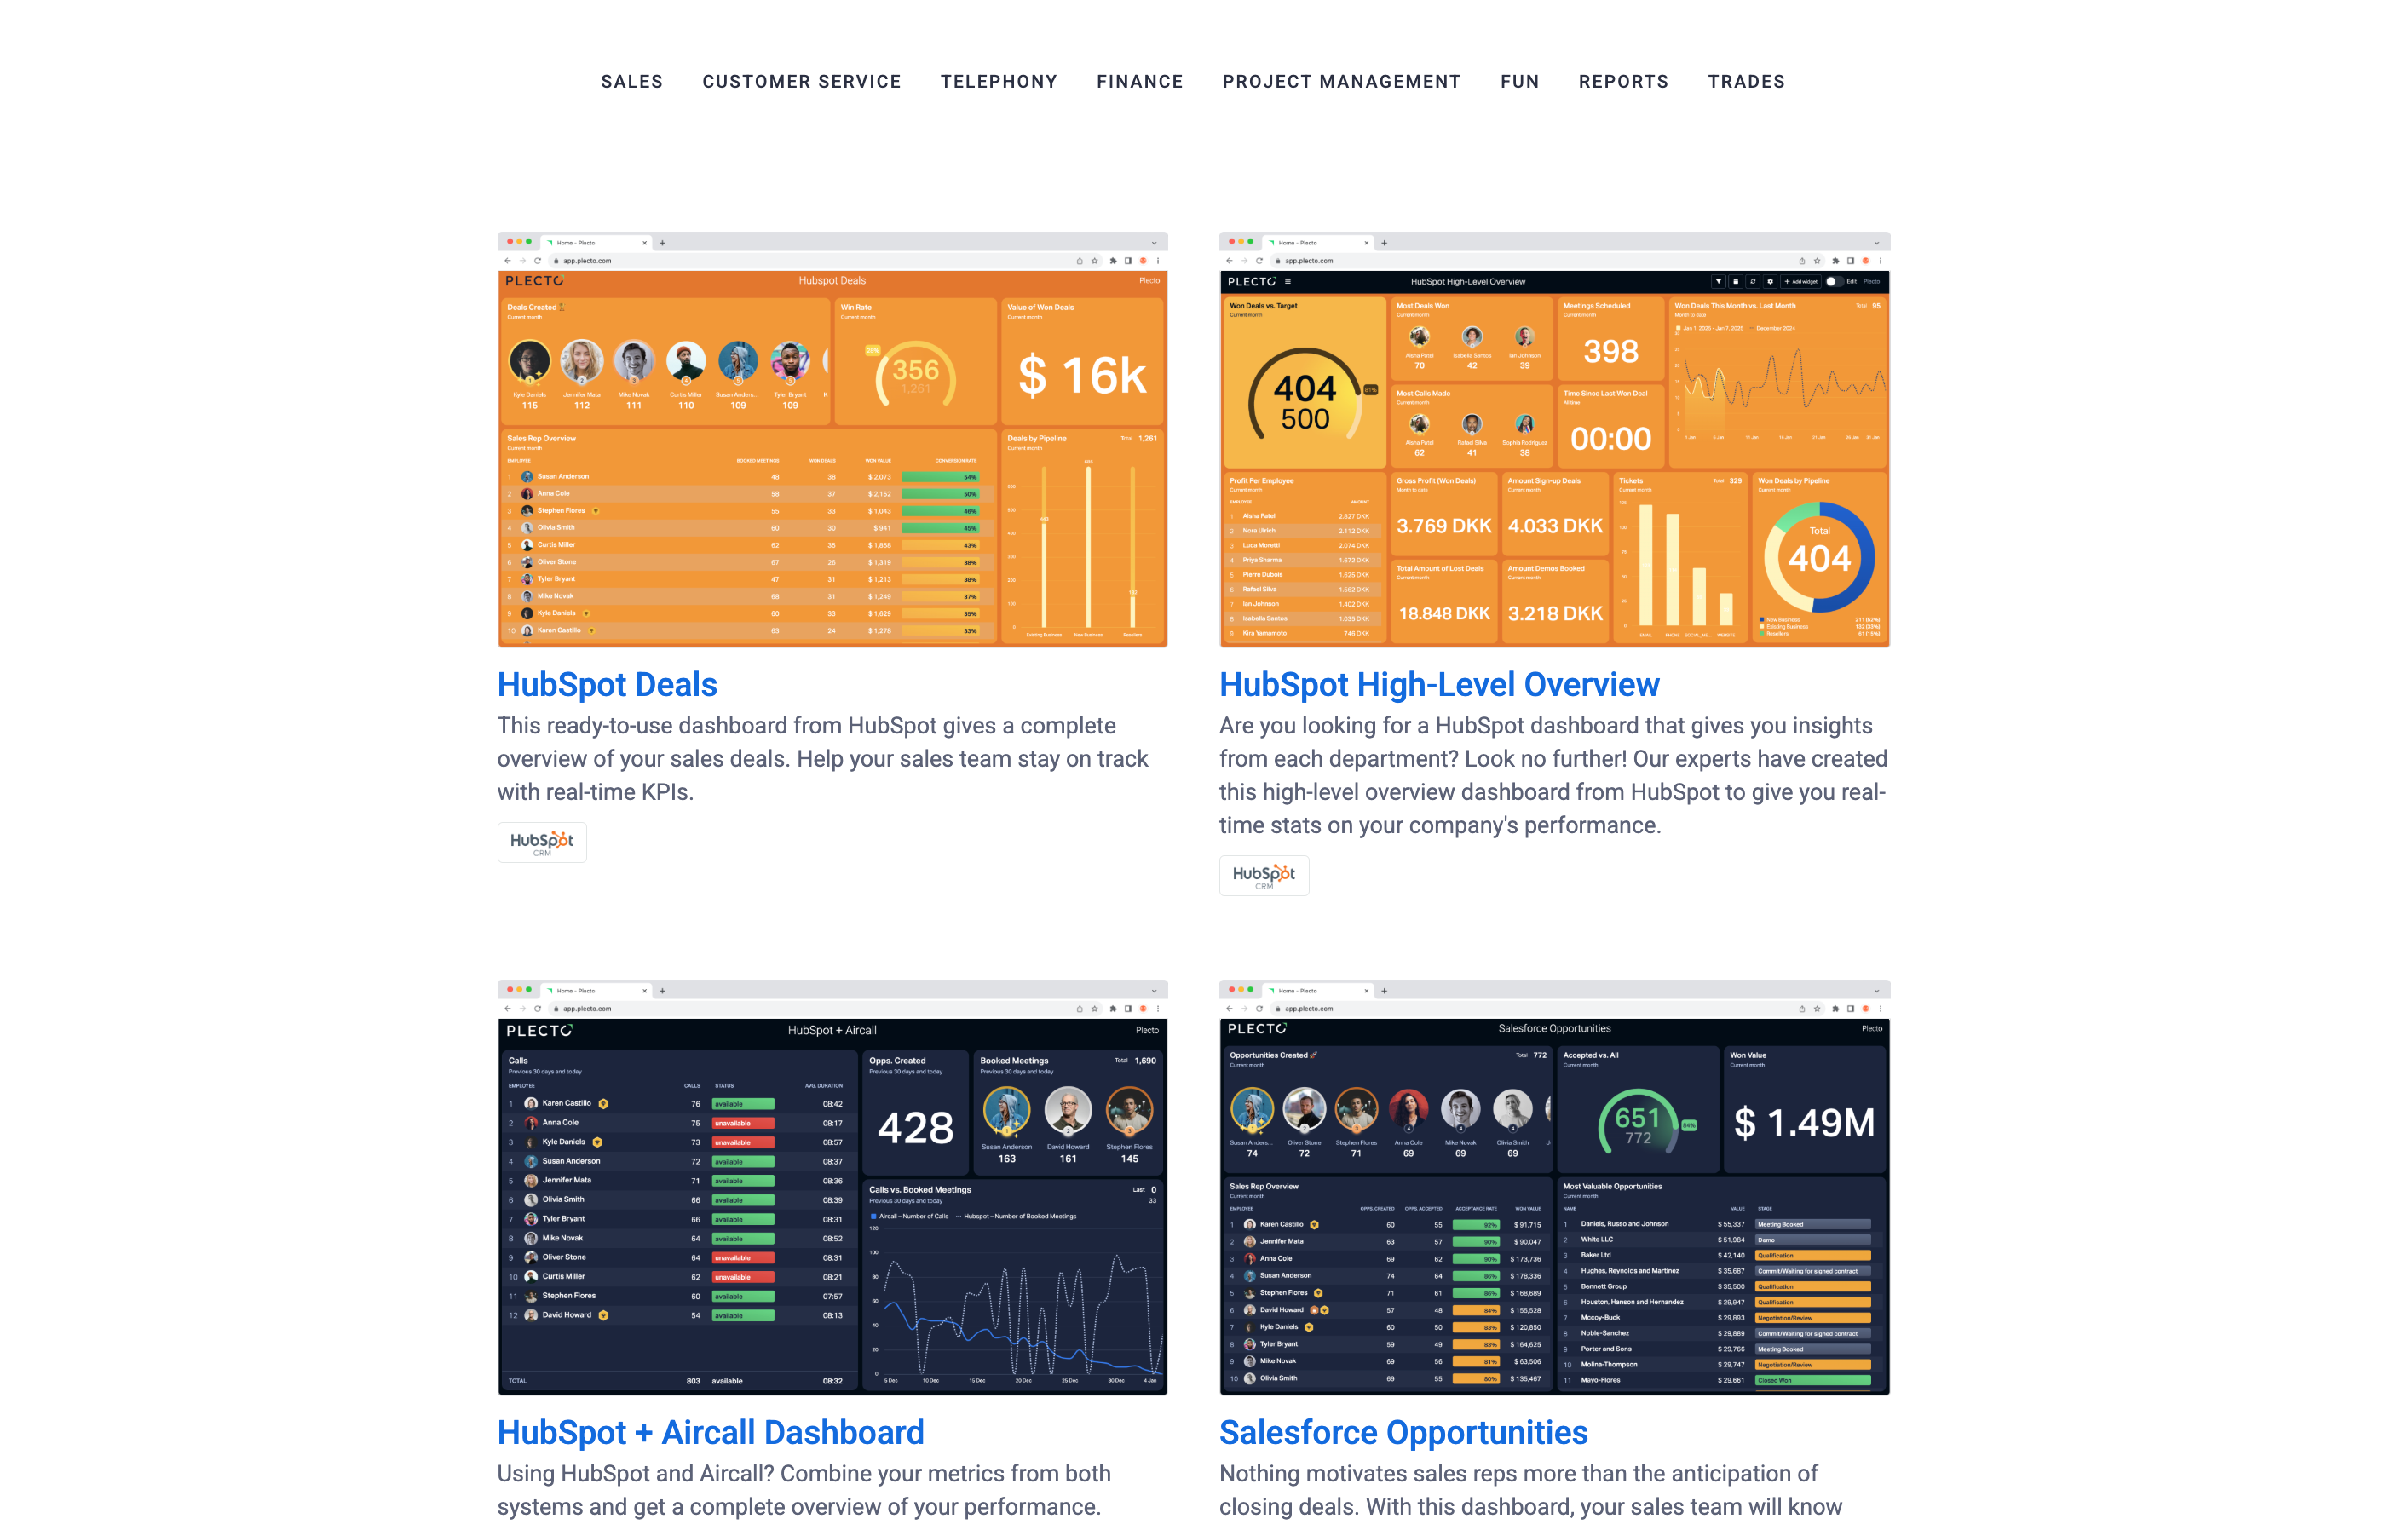
Install dashboard templates to use with your own data
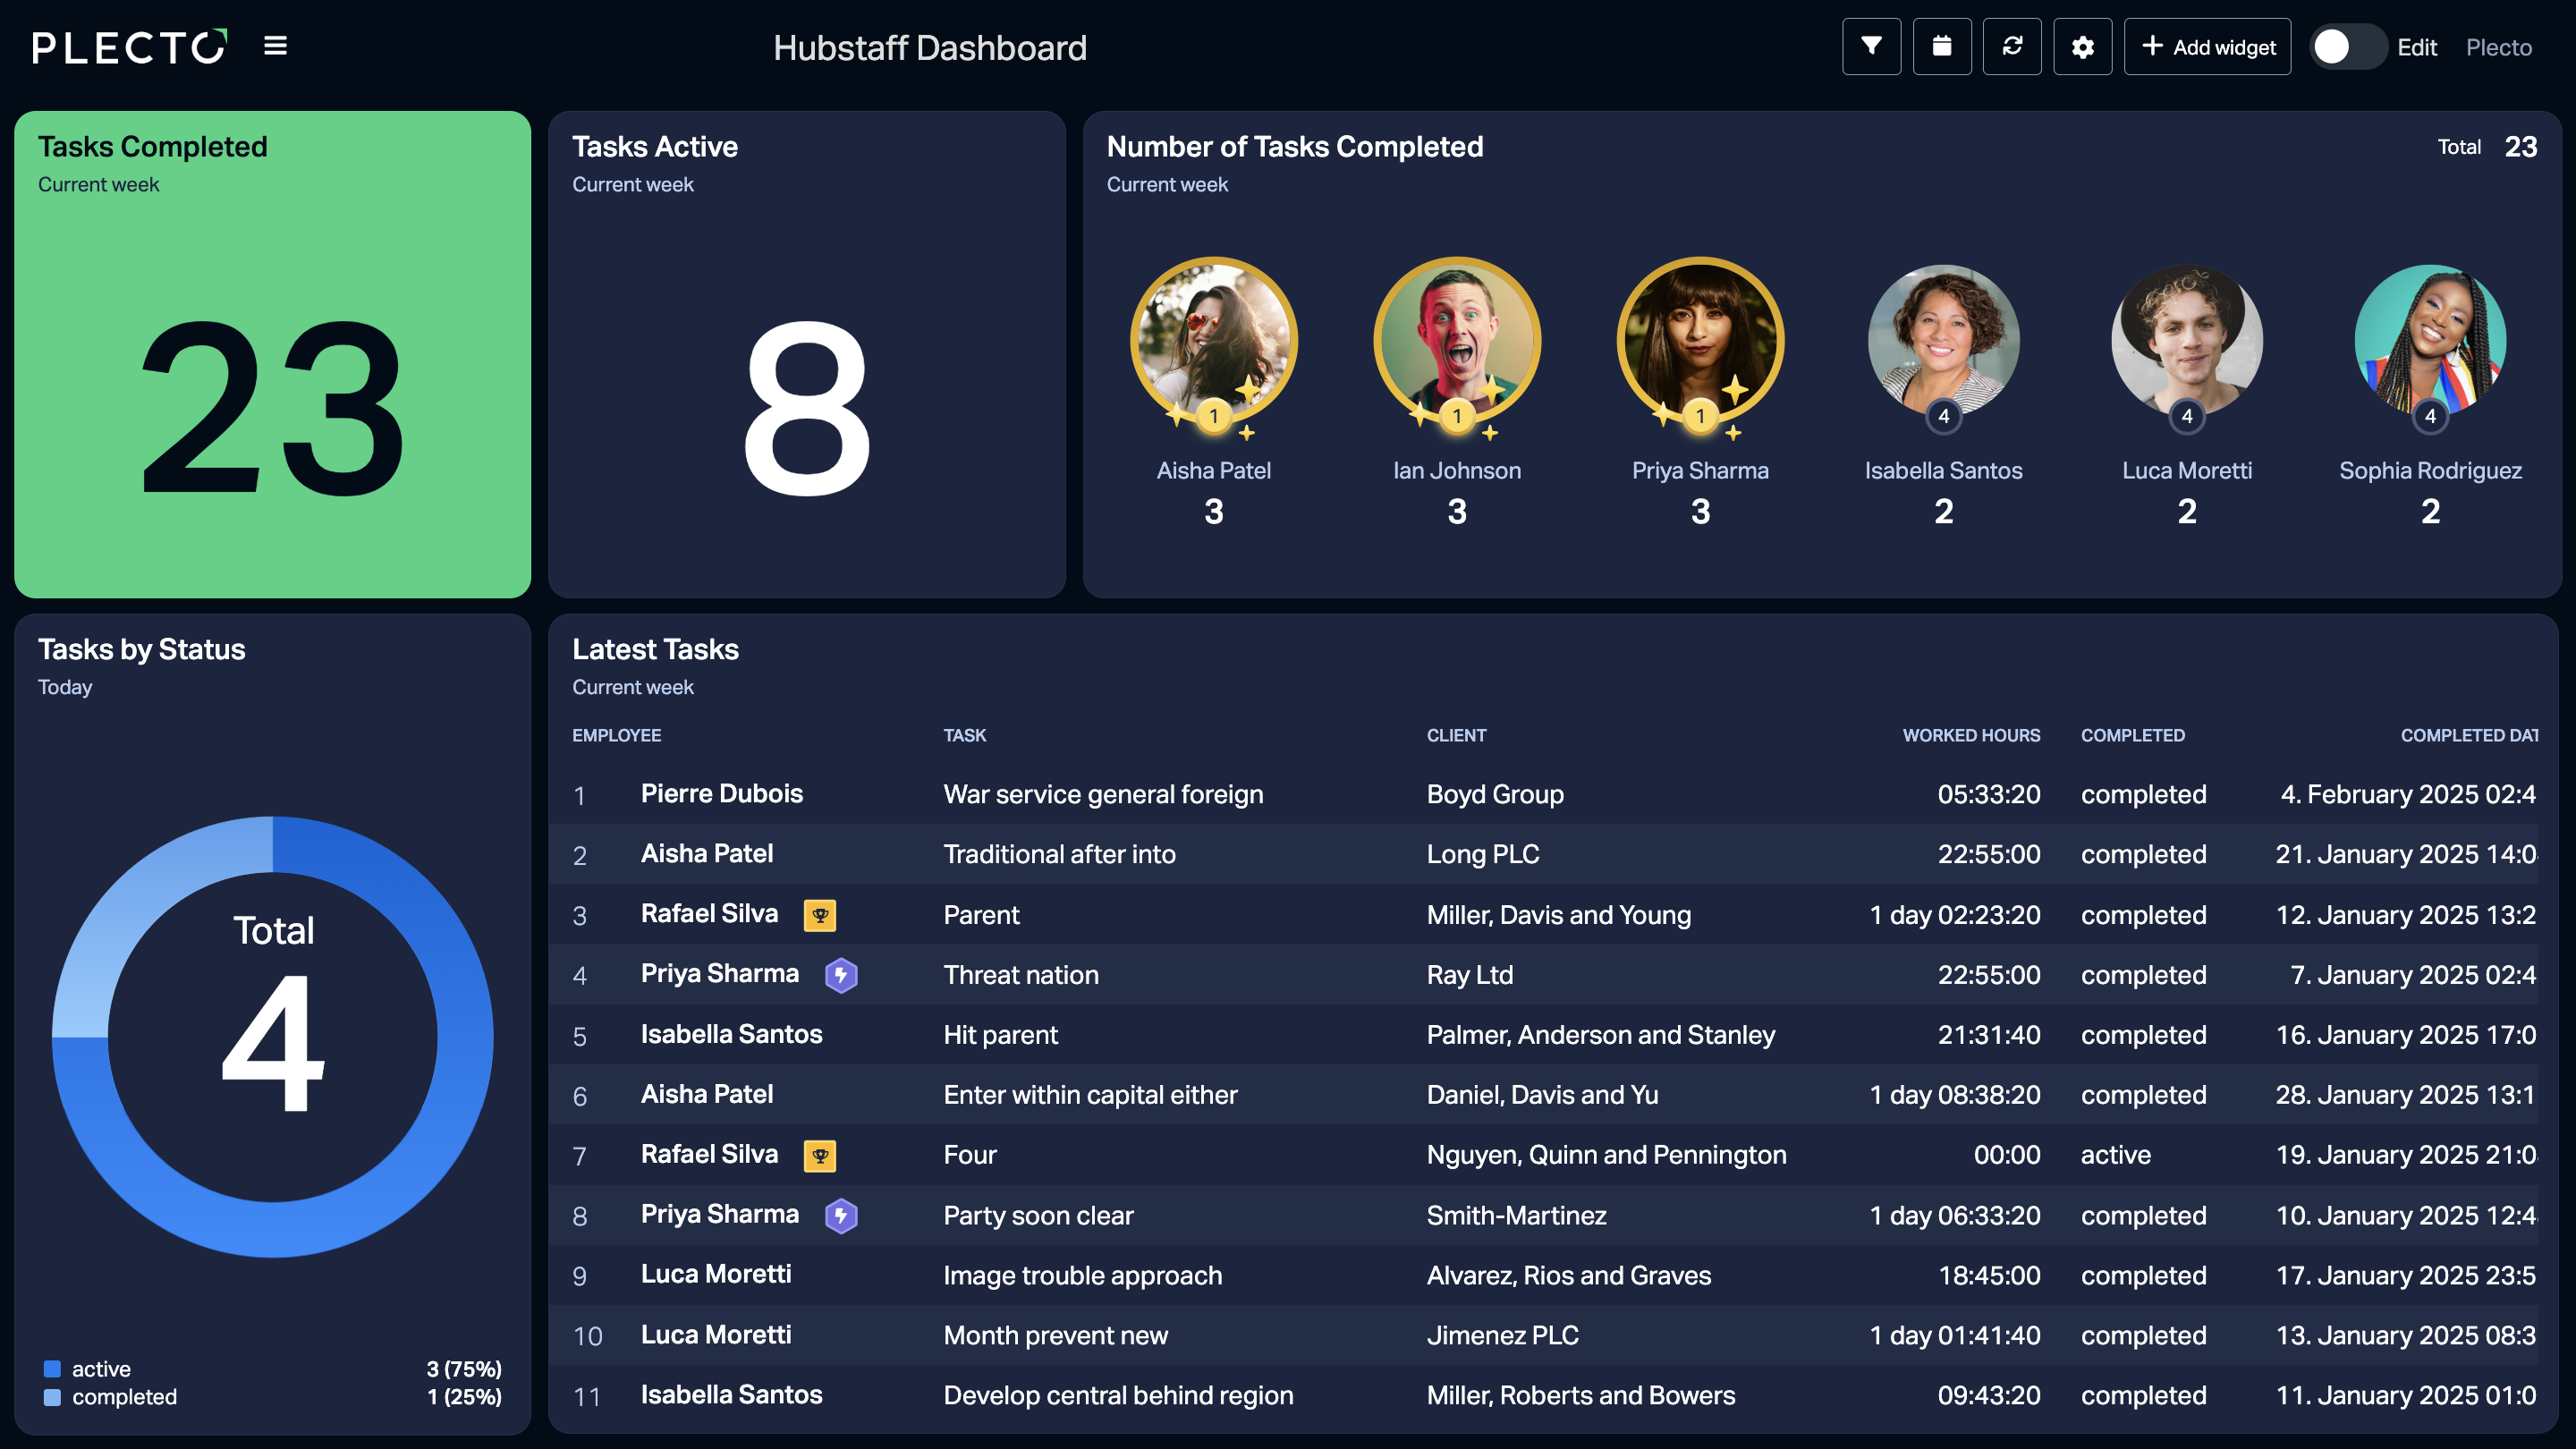
Create dashboards with the Dashboard Builder
Our Dashboard Builder can help you generate dashboards with data from our most popular systems. Simply pick a system, select KPIs, and voilà!
To create a dashboard using Dashboard Builder:
-
Go to Dashboards > New dashboard > Use dashboard builder.
-
Pick a system. All widgets generated on your dashboard will be based on this system.
-
Pick up to 5 widgets. You can combine your existing widgets with template widgets. If data from your system is already in Plecto, it will fill in the missing widgets. If not, you'll have to connect your data after you've generated the dashboard.
-
Once you've selected the widgets you want, click Generate dashboard.
Customize your widgets! Update the titles, change time periods, add custom grouping, and more - the dashboard is yours, so you can customize it to find what matches your needs!
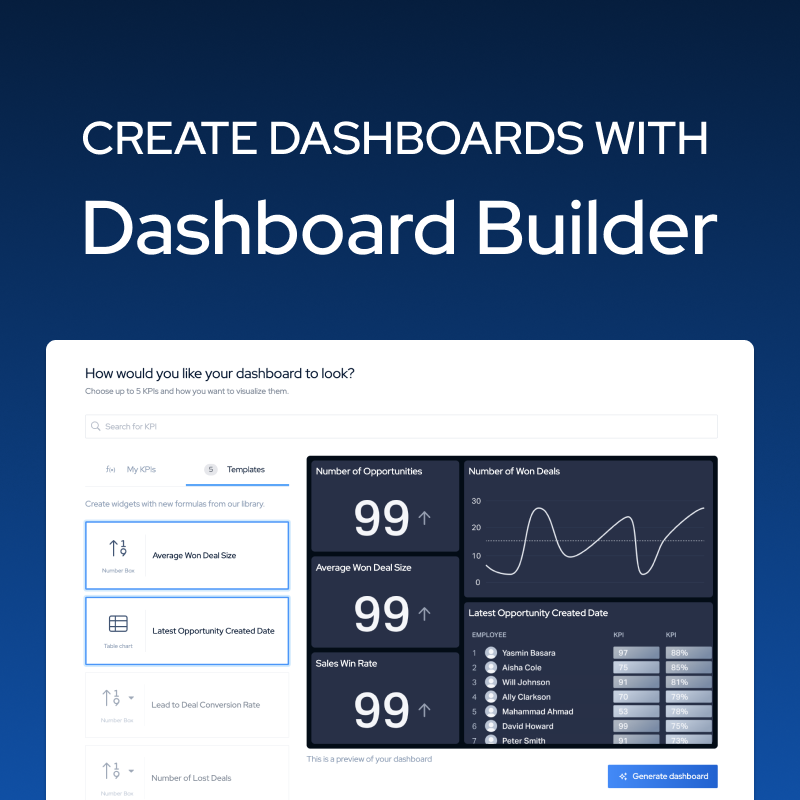
Start with an empty dashboard and create your own
-
Go to Dashboards > New dashboard > Start with empty dashboard.
-
Give your dashboard a title.
-
(Optional) Select a parent dashboard. If added, your current dashboard will become a sub-dashboard, and you will see it listed under the parent dashboard on the Dashboards page.
-
(Add-on) Choose the dashboard type. Default real-time dashboards are available on all subscription plans. Dynamic dashboards require purchasing an add-on. Read more about Dynamic dashboards
-
(Optional) Restrict dashboard access so that only selected teams can view it.
-
(Optional) Allow managers to edit – Standard users with team manager role (defined in the team profile) can gain permission to edit the dashboard widgets.
-
(Optional) Use your organization's time zone or select another one.
-
(Optional) Choose a different dashboard theme and layout.
-
Click Save to finish.
-
Now you can start adding widgets. Click Add widget in the top menu or press A on your keyboard to get started.
Looking for inspiration? Check out our Sales and Customer Service dashboard examples!
How to Use Dashboard Filters →
How to add widgets to the dashboard
-
Click Add widget in the top menu or press A on your keyboard.
-
You can add widgets from templates or make your widgets from scratch.
Use widget templates
- Select Browse templates and choose from a list of pre-made widgets. The options in the catalog are based on the systems you've integrated.
Make your own widgets
-
Select a widget and drag it onto the dashboard while holding the left button on your mouse. You can always move, resize, and copy your widgets.
-
Under the Data tab, select an existing formula or create a new one. For table and timeline widgets, you need to add new columns to add/create formulas (1 column = 1 formula). If you need help with formulas, go to this article.
-
Each widget has different configuration options. Explore the Settings tab and adjust the settings until your widget looks like you want it. We'll render a preview to show you what happens.
-
Adjust the Time period to your needs.
-
Once you're ready, click Save widget.
Keep adding widgets until your dashboard is complete. For inspiration, read our article on dashboard best practices.
Install dashboard templates
Install ready-made Plecto packages designed by our experts.
-
Go to https://store.plecto.com/.
-
Browse and choose a package from the list.
-
Click Install for Free.
-
You can choose to import the package using your existing data (pick a data source), or you can connect to a new system as you install the package.
-
Click Install.
Your dashboard will be listed under Dashboards, and all formulas it contains will be listed under Formulas.
The dashboard and formulas are now yours – you can customize them to match your business setup!