 Sign in
ServiceTitan Dashboard Templates - Setup Guide
ServiceTitan Dashboard Templates - Setup Guide
Welcome to the ServiceTitan Dashboard Templates Setup Guide!
This guide will walk you through the step-by-step process of setting up Plecto’s dashboard templates tailored to fit your ServiceTitan setup. Following this guide will ensure accurate implementation and allow you to maximize the value of these dashboards.
Overview of ServiceTitan Dashboard Templates
Plecto offers three distinct dashboard template packages designed to cater to different roles and needs within your organization:
-
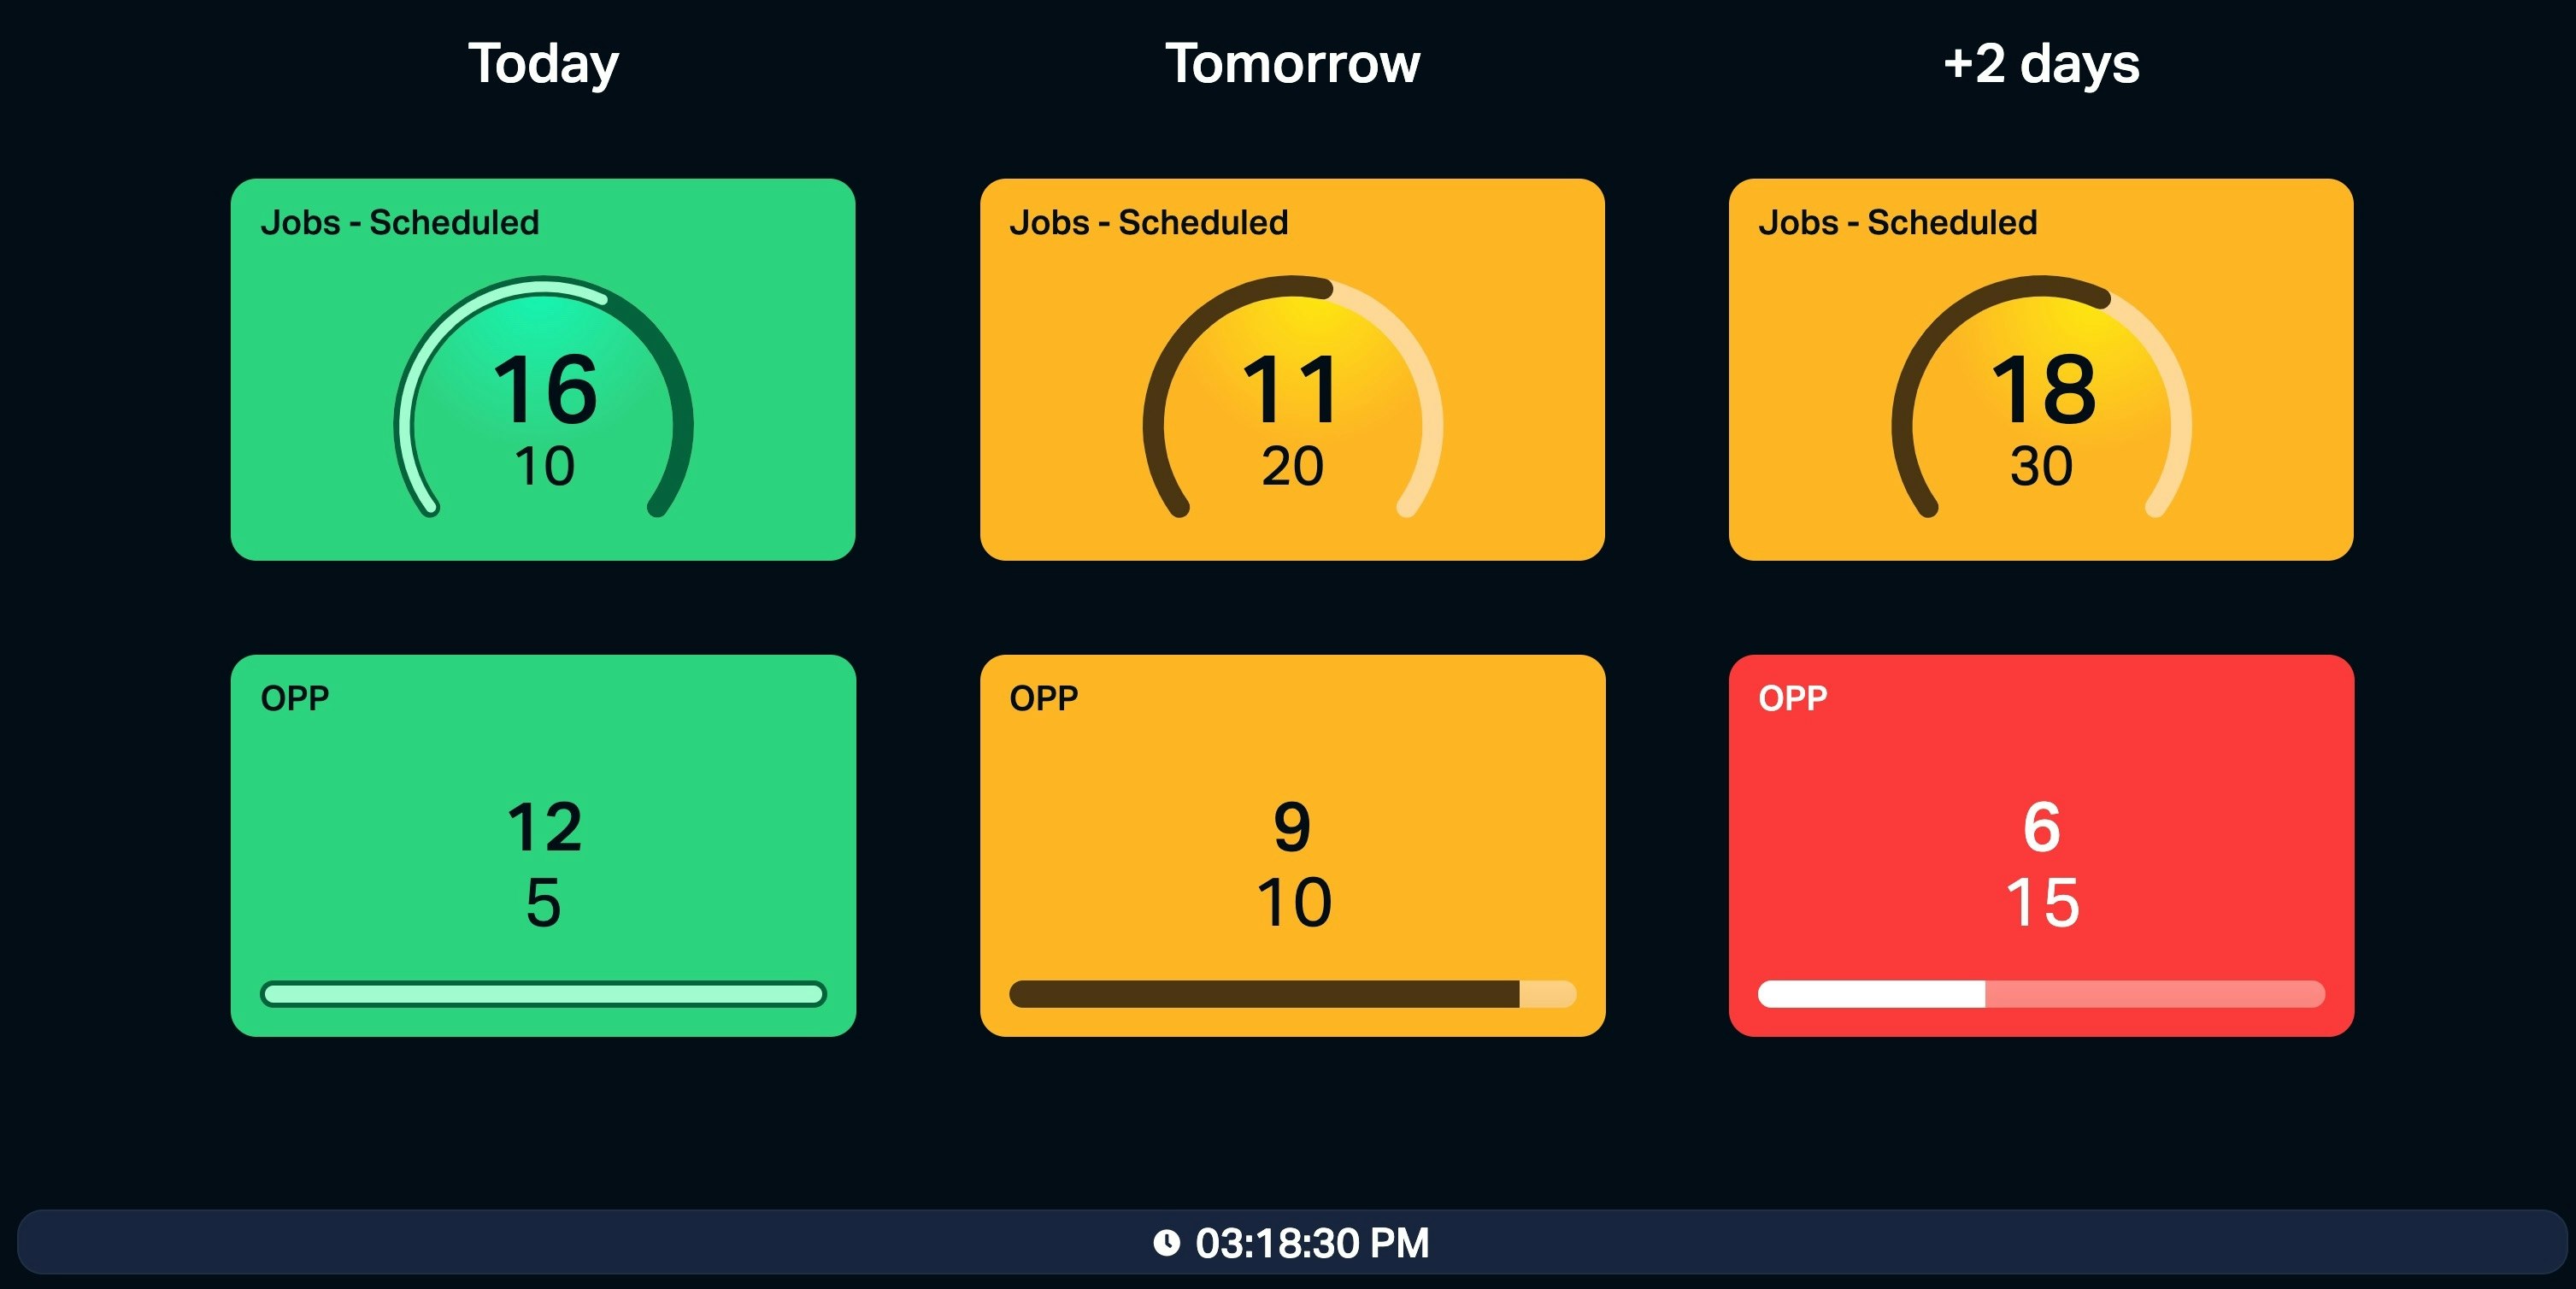
3-Day Call Board Package
Dashboards Included:
-
3-Day Call Board Dashboard
-
Filters Overview Dashboard
-
This package is foundational and highly recommended to set up first. The Filters Overview Dashboard included in this package simplifies the configuration of formulas for other dashboards.
-
General Package
Dashboards Included:
-
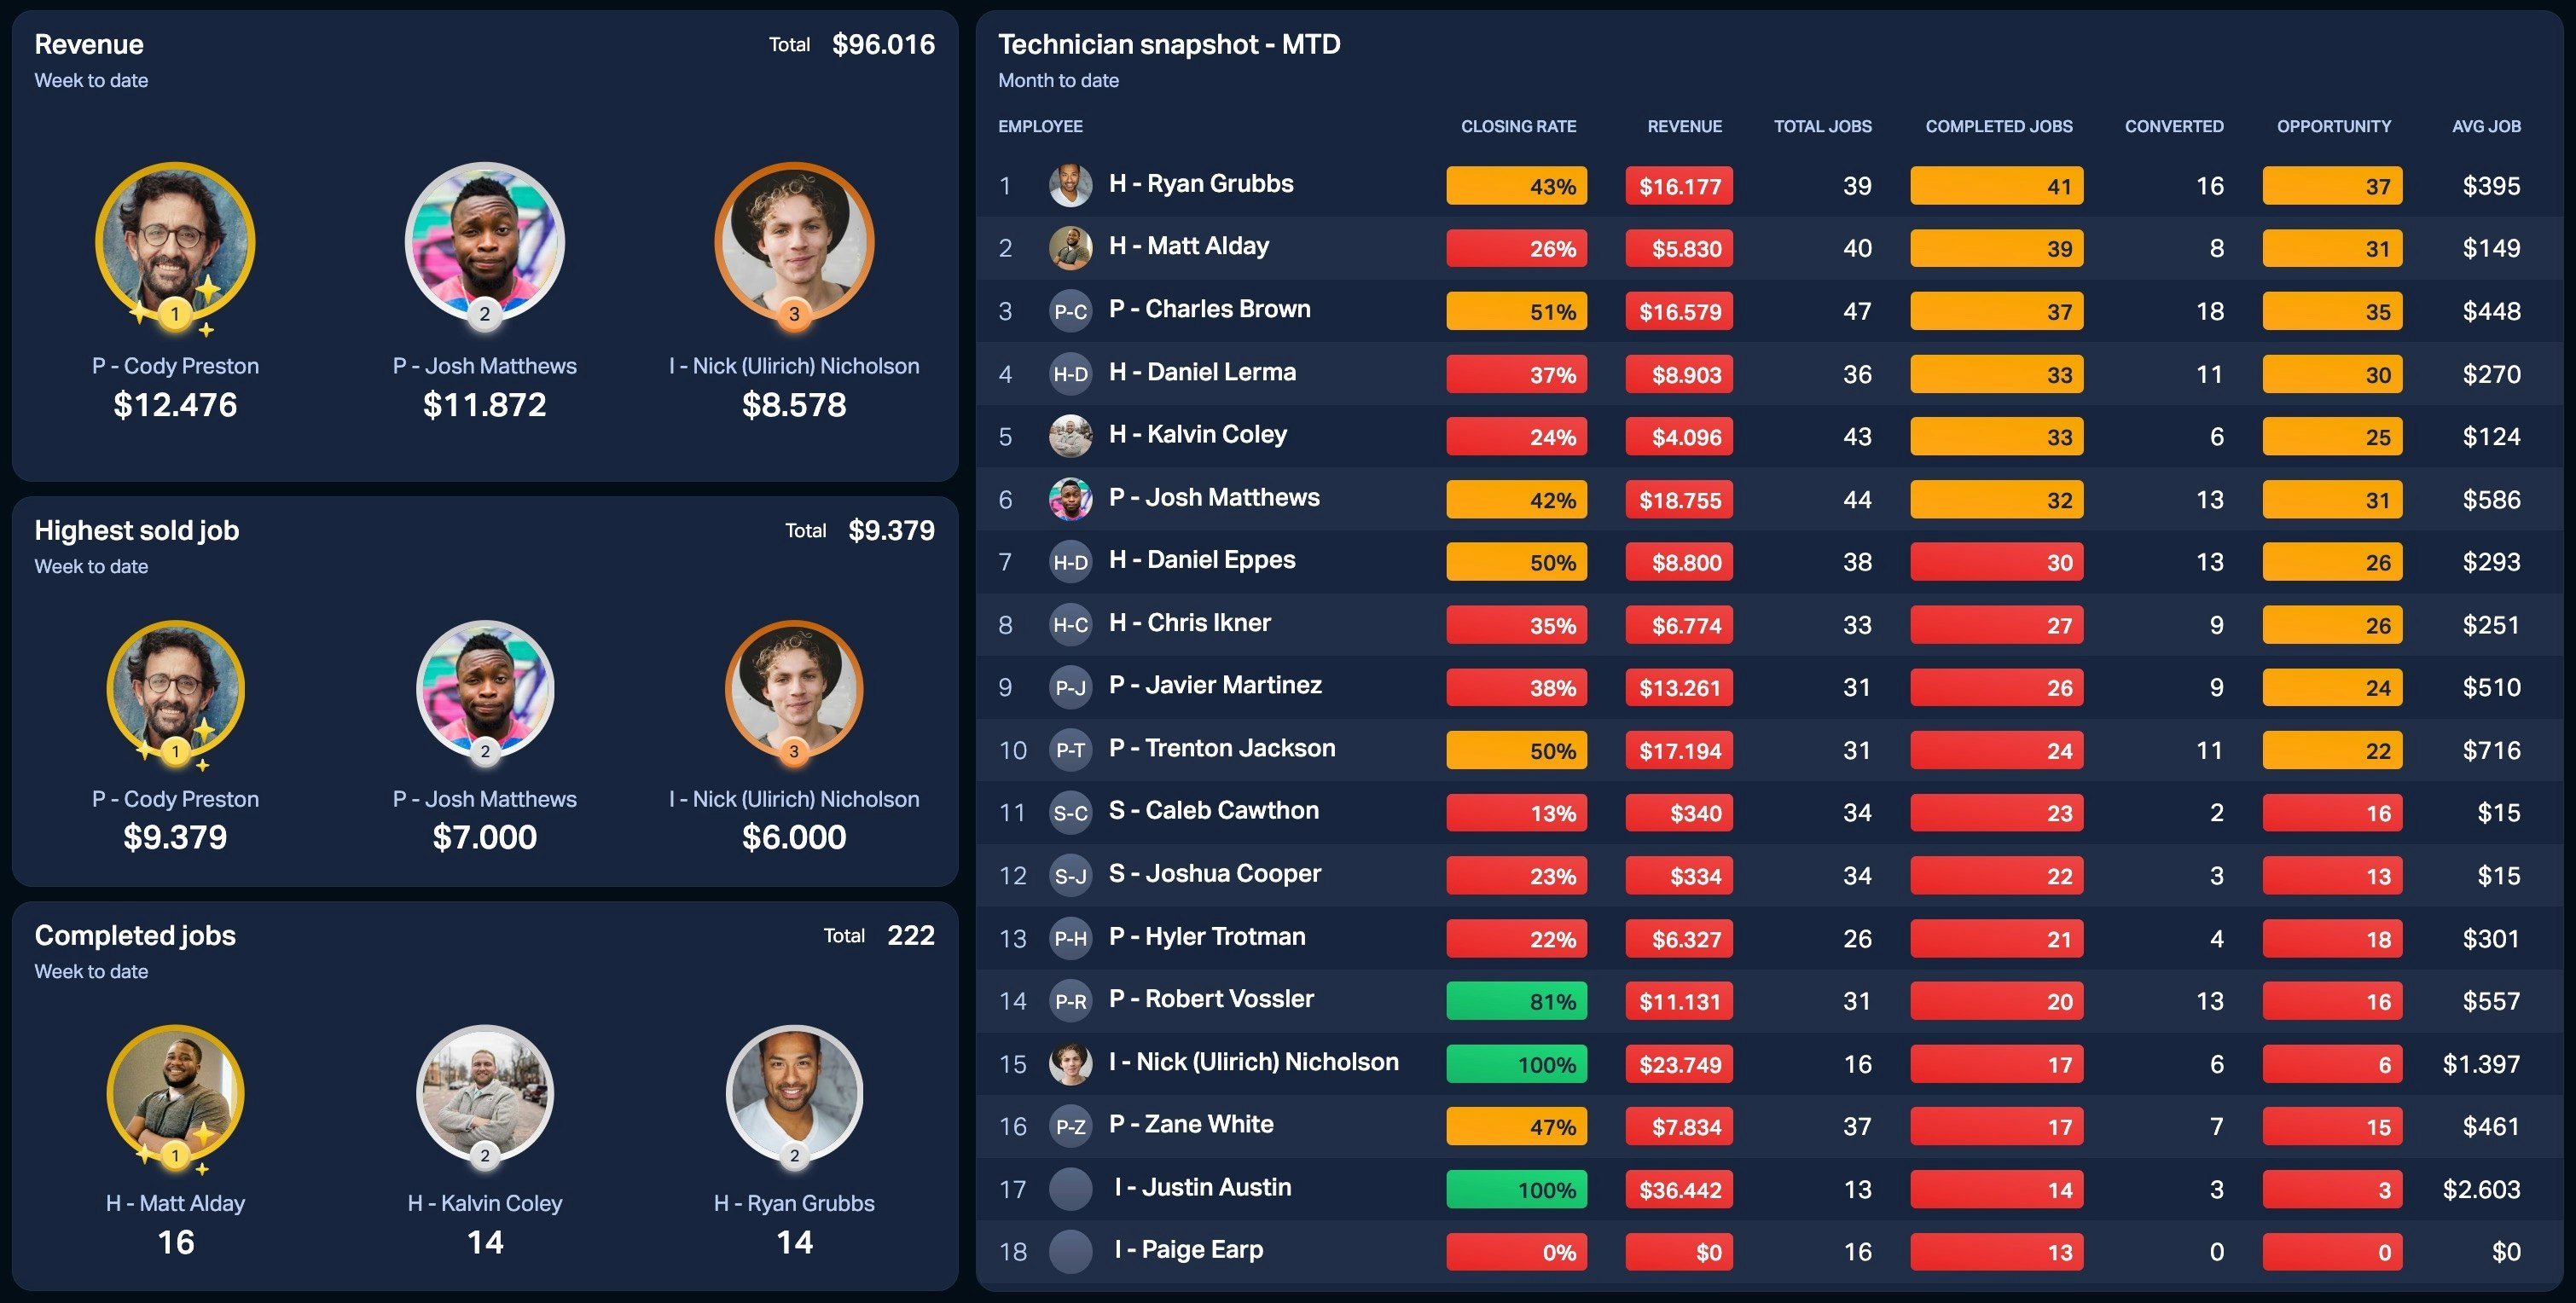
CSM Metric Dashboard
-
Revenue Dashboard
-
Technician Overview Dashboard
-
This package is ideal for tracking core operational metrics and gaining insights into revenue, customer success, and technician performance.
-
Management Overview Package
Dashboards Included:
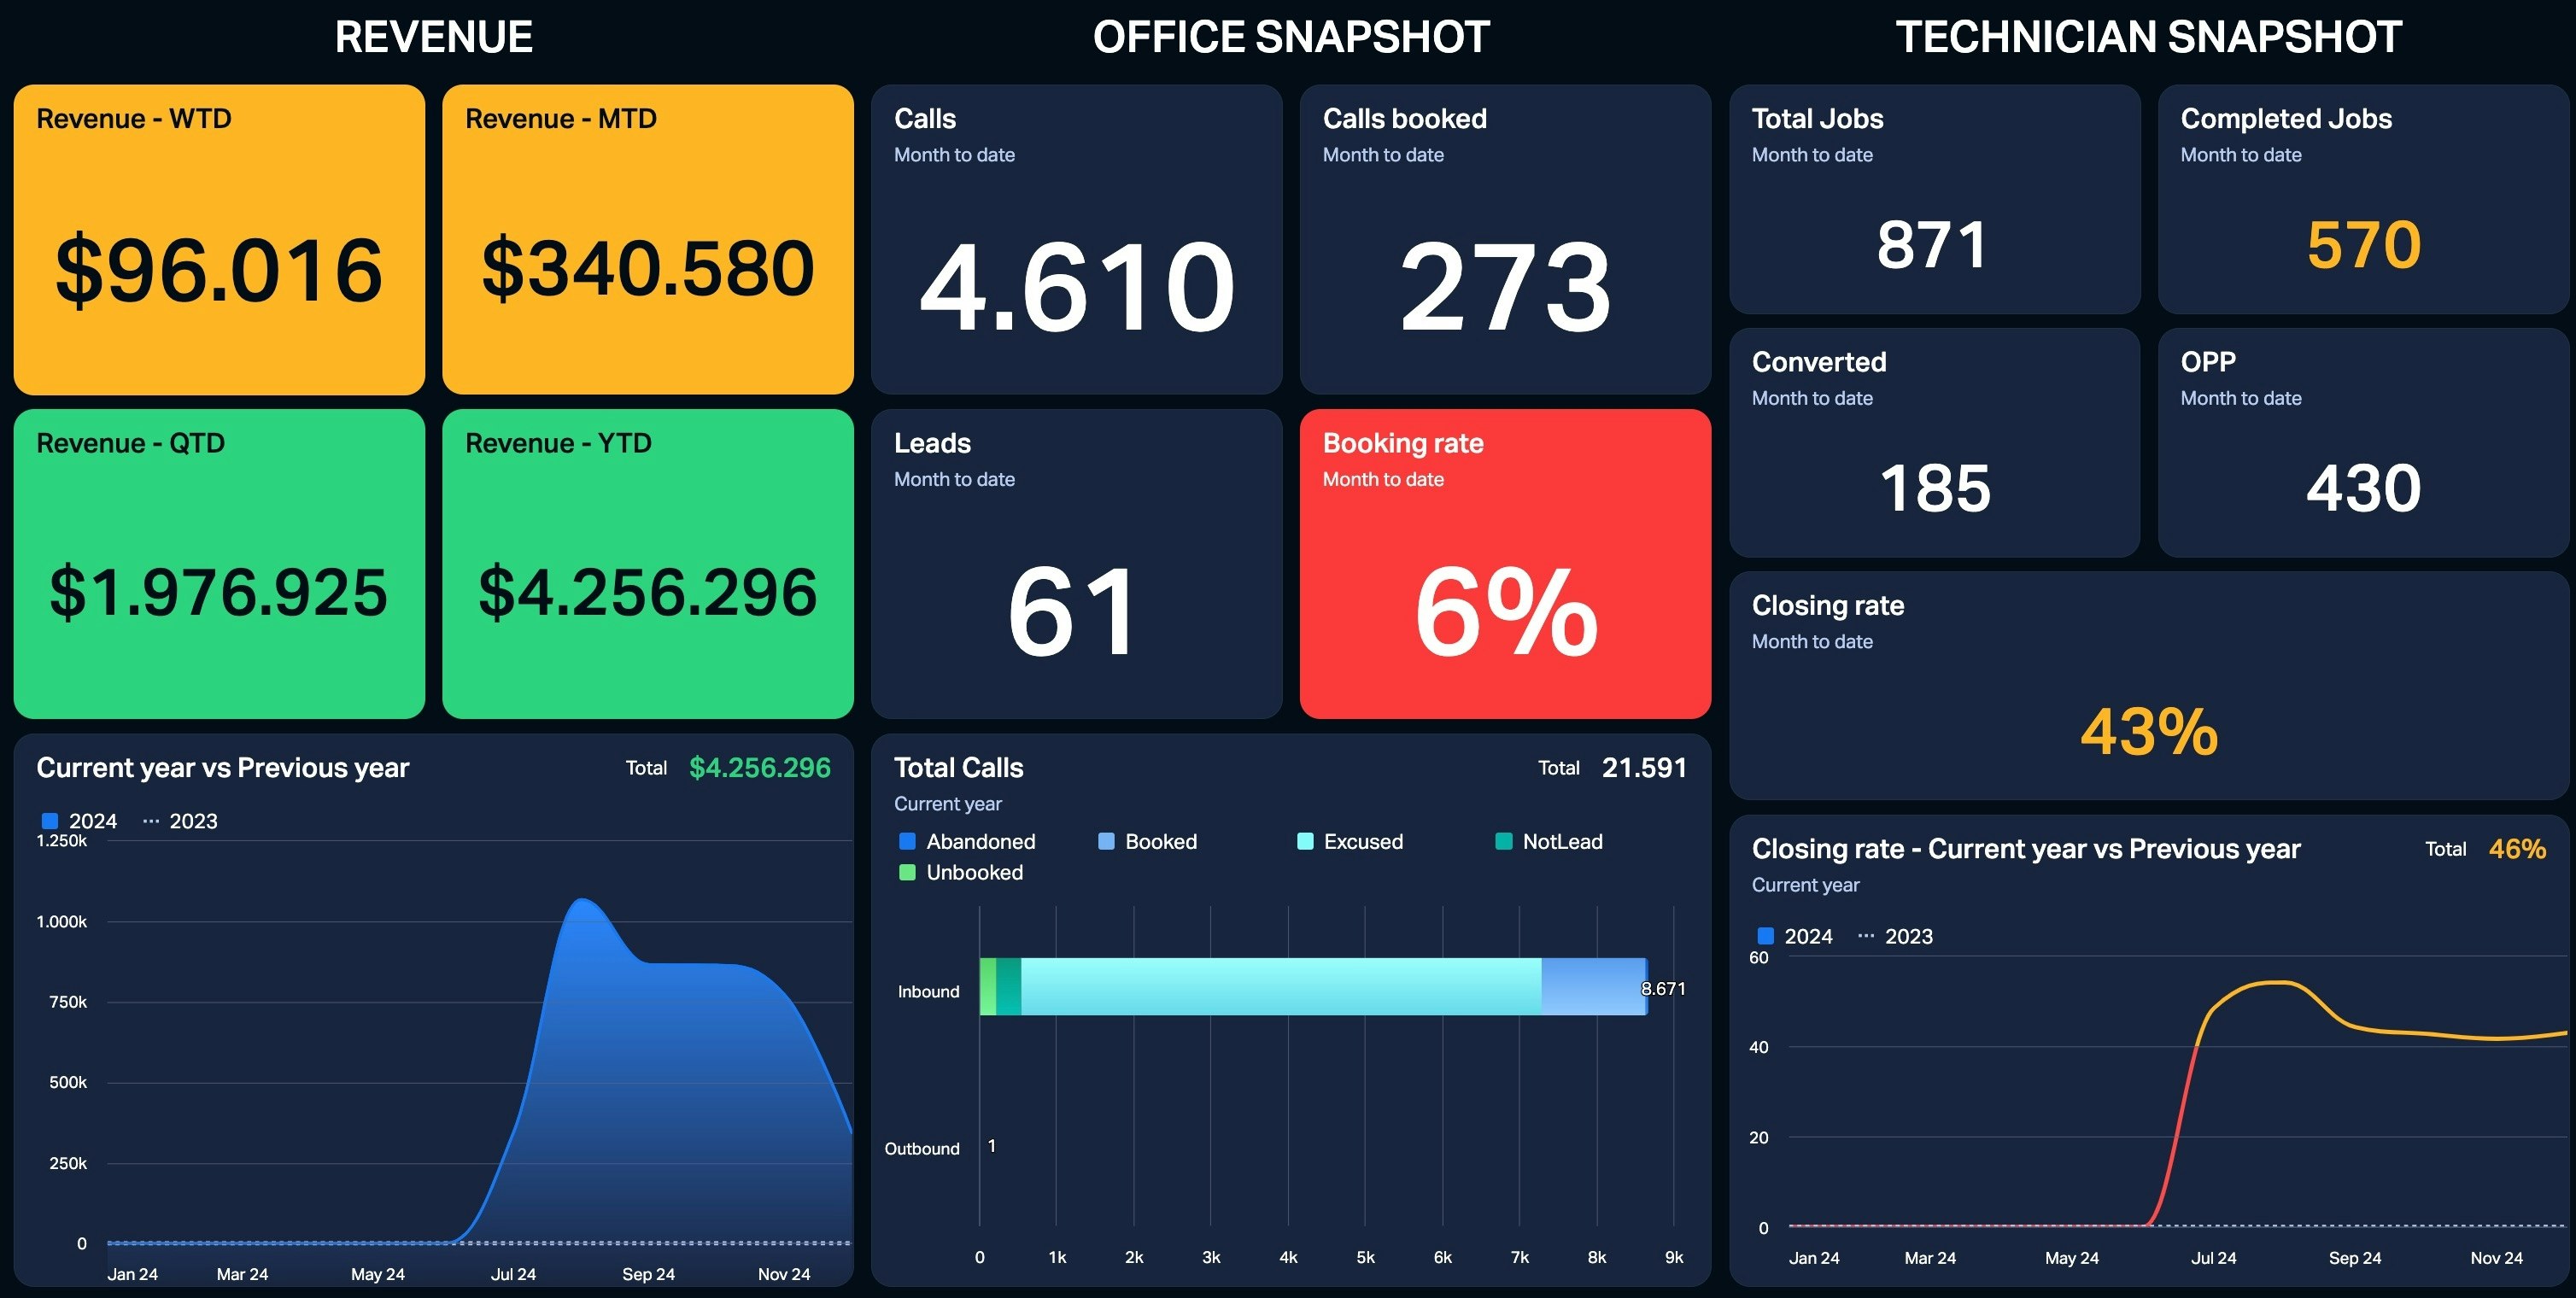
- Management Overview Dashboard
This package is perfect for high-level performance monitoring and strategic decision-making.
How to Use This Guide
Step 1: Start with the 3-Day Call Board Package
Download and set up this package first. The Filters Overview Dashboard it contains will make configuring formulas for other dashboards much easier.
Step 2: Proceed to the General Package
Once your filters are set up, download and configure the dashboards in the General Package to focus on specific metrics for your business.
Step 3: Finish with the Management Overview Package
Set up this high-level dashboard last, ensuring all metrics and filters are correctly applied for a comprehensive overview.
Click on next step to get started with Step 1
Step 1: 3 Day Call Board Package
1. Download the Package:
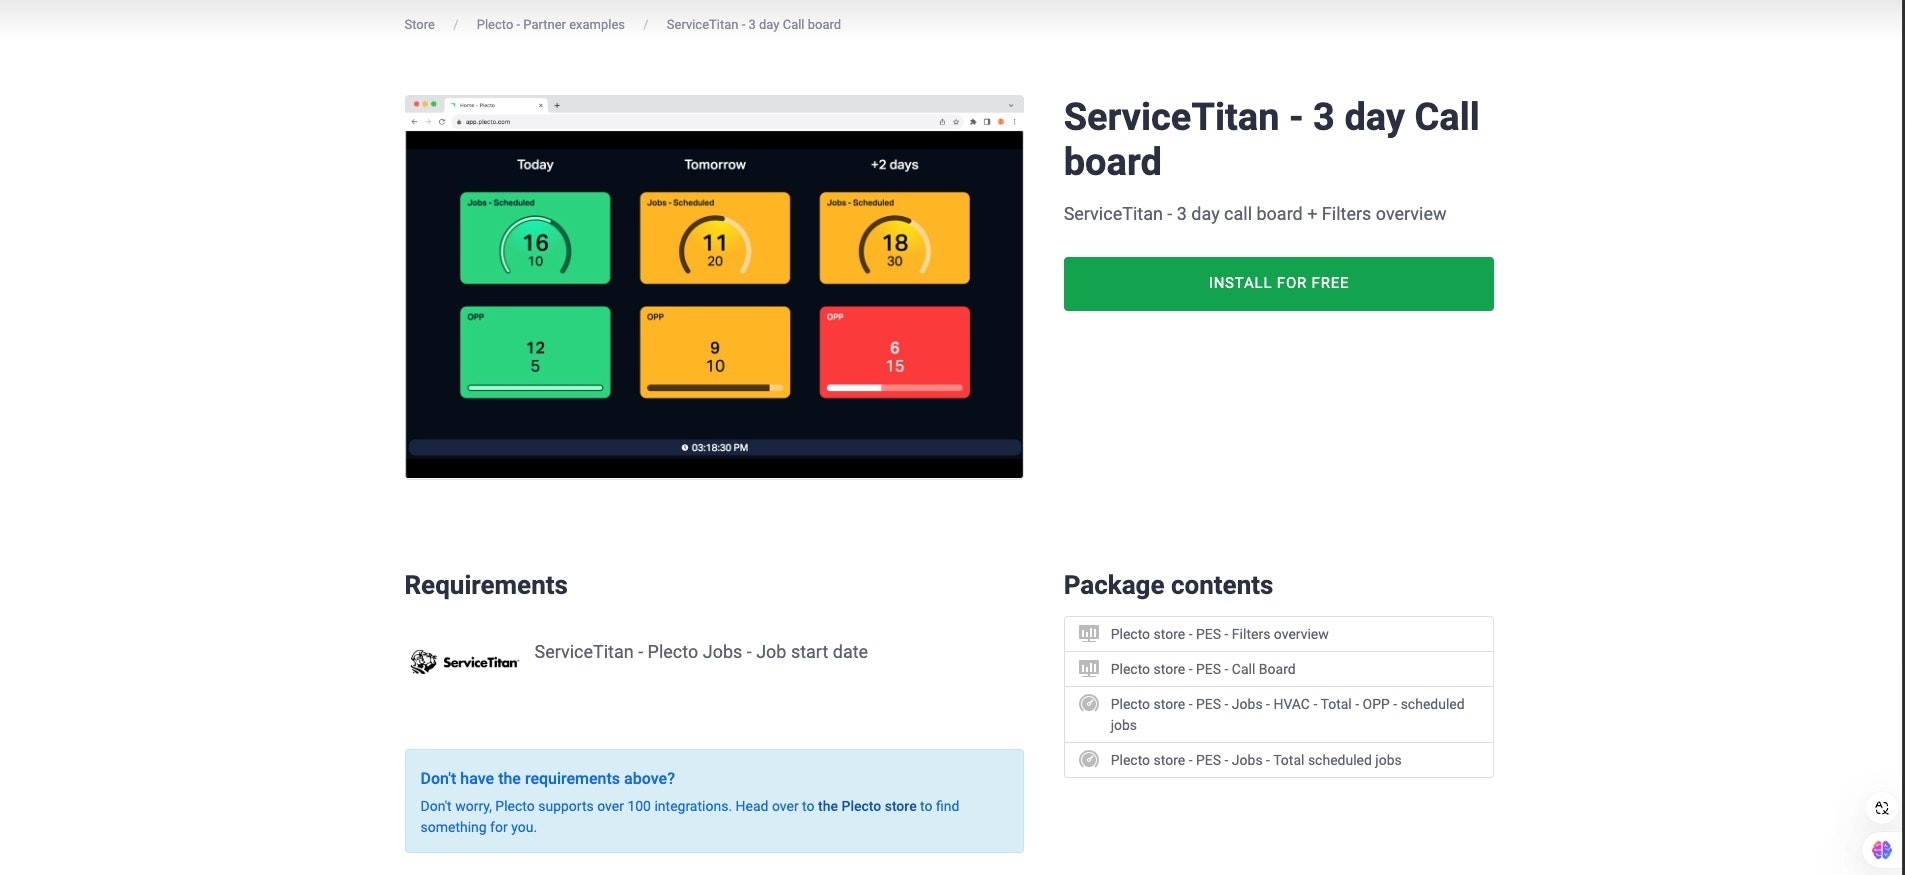
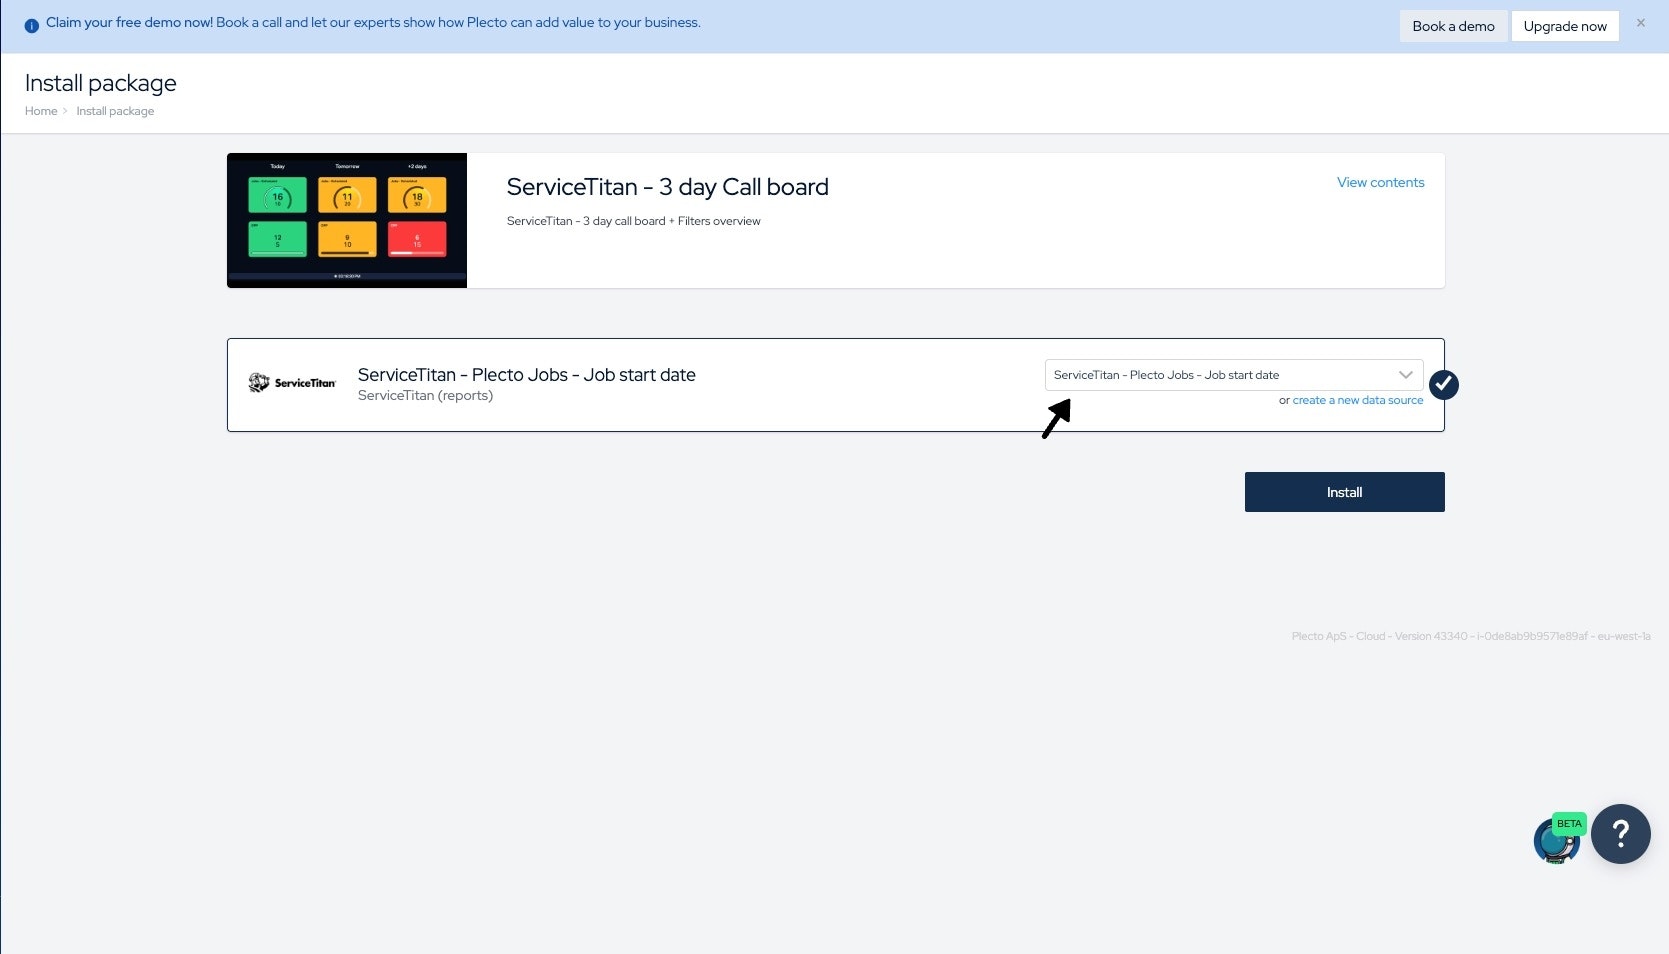
Locate the link for the 3-Day Call Board Package below and click the Install link.
ServiceTitan - 3 day call board (Install link)
2. Install the Package:
Click INSTALL FOR FREE to start the installation process.
You’ll be redirected to select the data source: "ServiceTitan - Plecto Jobs - Job start date."
If you’re unsure how to import the data source, refer to the Plecto x ServiceTitan Integration Guide for detailed steps.
Once the correct data source is selected, click Install to complete the process.
3. Confirm the Installation:
After installation, two new dashboards will appear in your Plecto account:
-
Plecto Templates - Call Board
-
Plecto Templates - Filters Overview
4. Proceed to Finalize Setup
Go to the next step to adjust the formulas and complete your 3-Day Call Board configuration.
Step 1.2: 3 Day Call Board - Formula configuration
1. Open the Dashboard
Navigate to the 3-Day Call Board Dashboard in your Plecto account.
Click on EDIT at the top-right corner of the dashboard.
2. Edit the Number Box Widget
Locate the number box widget you wish to configure and click EDIT.
In the widget settings, click EDIT FORMULA.
3. Set Up Filters
You will see four filters to configure:
-
Job Type
-
Job Class
-
Status
-
Business Unit
Open the Filters Overview Dashboard to find the required values for these filters.
Copy the necessary Job Class, Job Type, Status, or Business Unit values from the Filters Overview Dashboard and paste them into the corresponding filter in the formula editor.
If not using "Job Class" within ServiceTitan, please remove the filter within the formula.
4. Choose the Correct Conditions
If you want to track a single value (e.g., one Business Unit), use the condition "Is."
For multiple values (e.g., several Job Types), use "Is one of" and list all the required values.
5. Save and Test
Save your changes and verify that the dashboard displays the correct data. Adjust the filters if needed.
The formulas used in these dashboards are universal. For example, with the "Jobs - Scheduled" KPI, all number box widgets that use this formula are interconnected. This means that if you update the formula for one widget, the changes will automatically apply to all other widgets using the same formula. This ensures consistency across your dashboards and reduces the need for repetitive adjustments.
Step 2: General Package
The setup process for the general package is quite similar to that of the 3-Day Call Board package.
1. Download the Package:
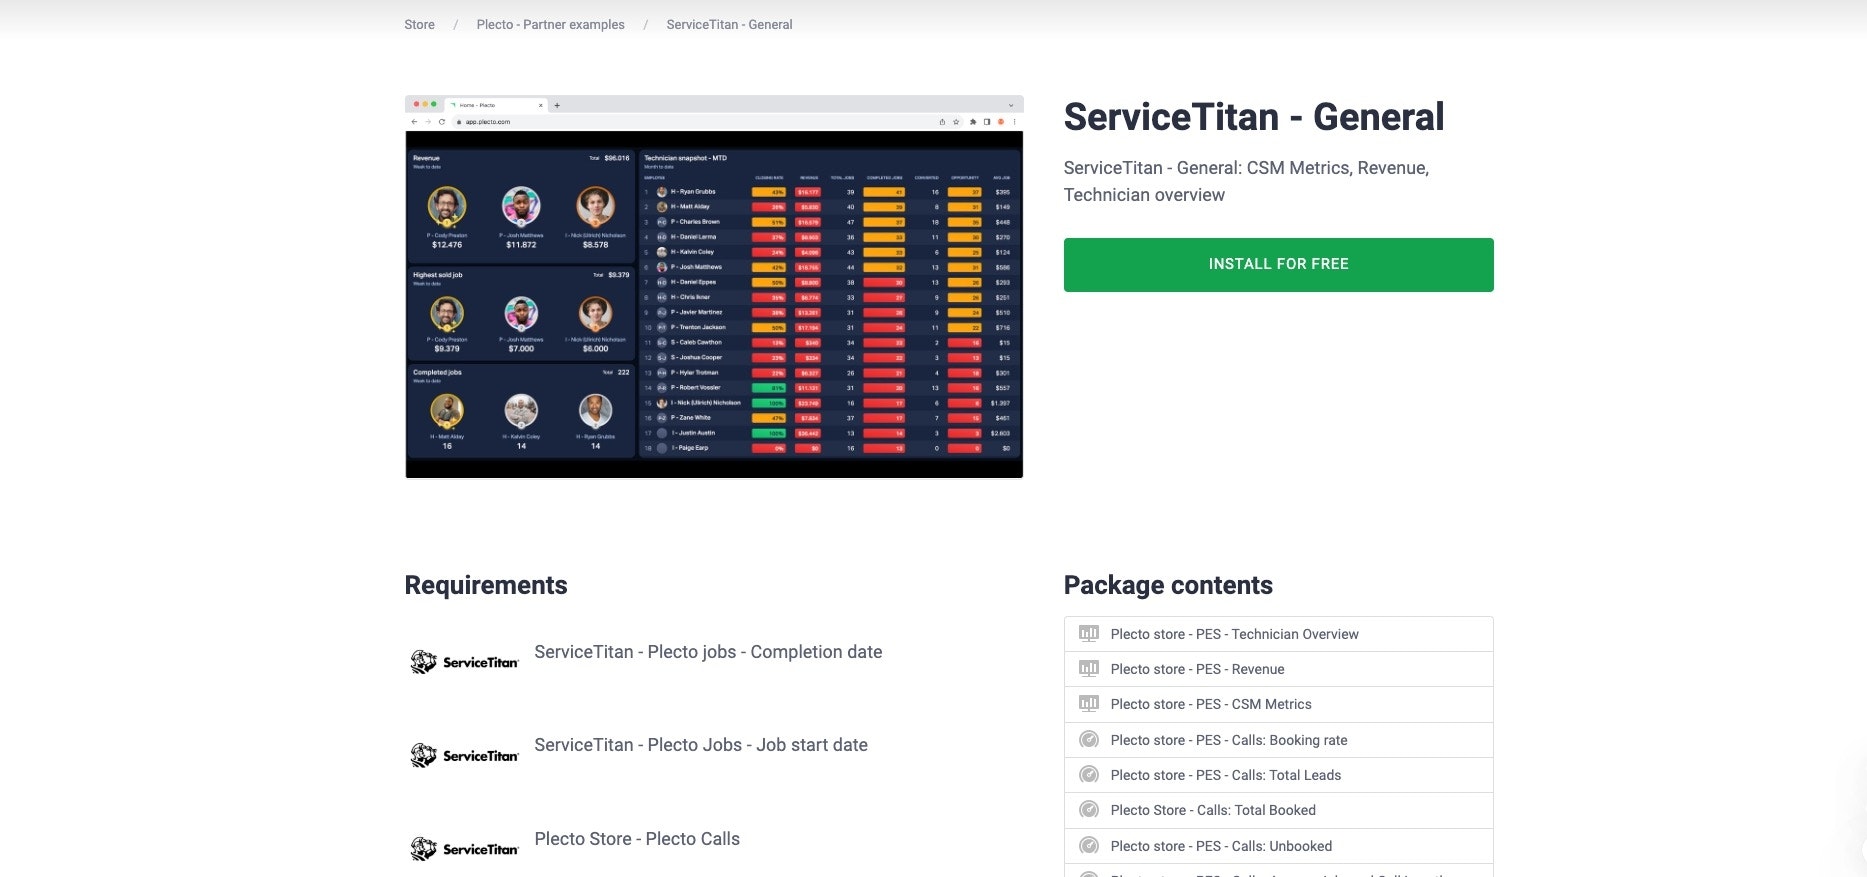
Locate the link for the General Package below and click the Install link.
ServiceTitan - General Package (Install link)
2. Install the Package:
Click INSTALL FOR FREE to start the installation process.
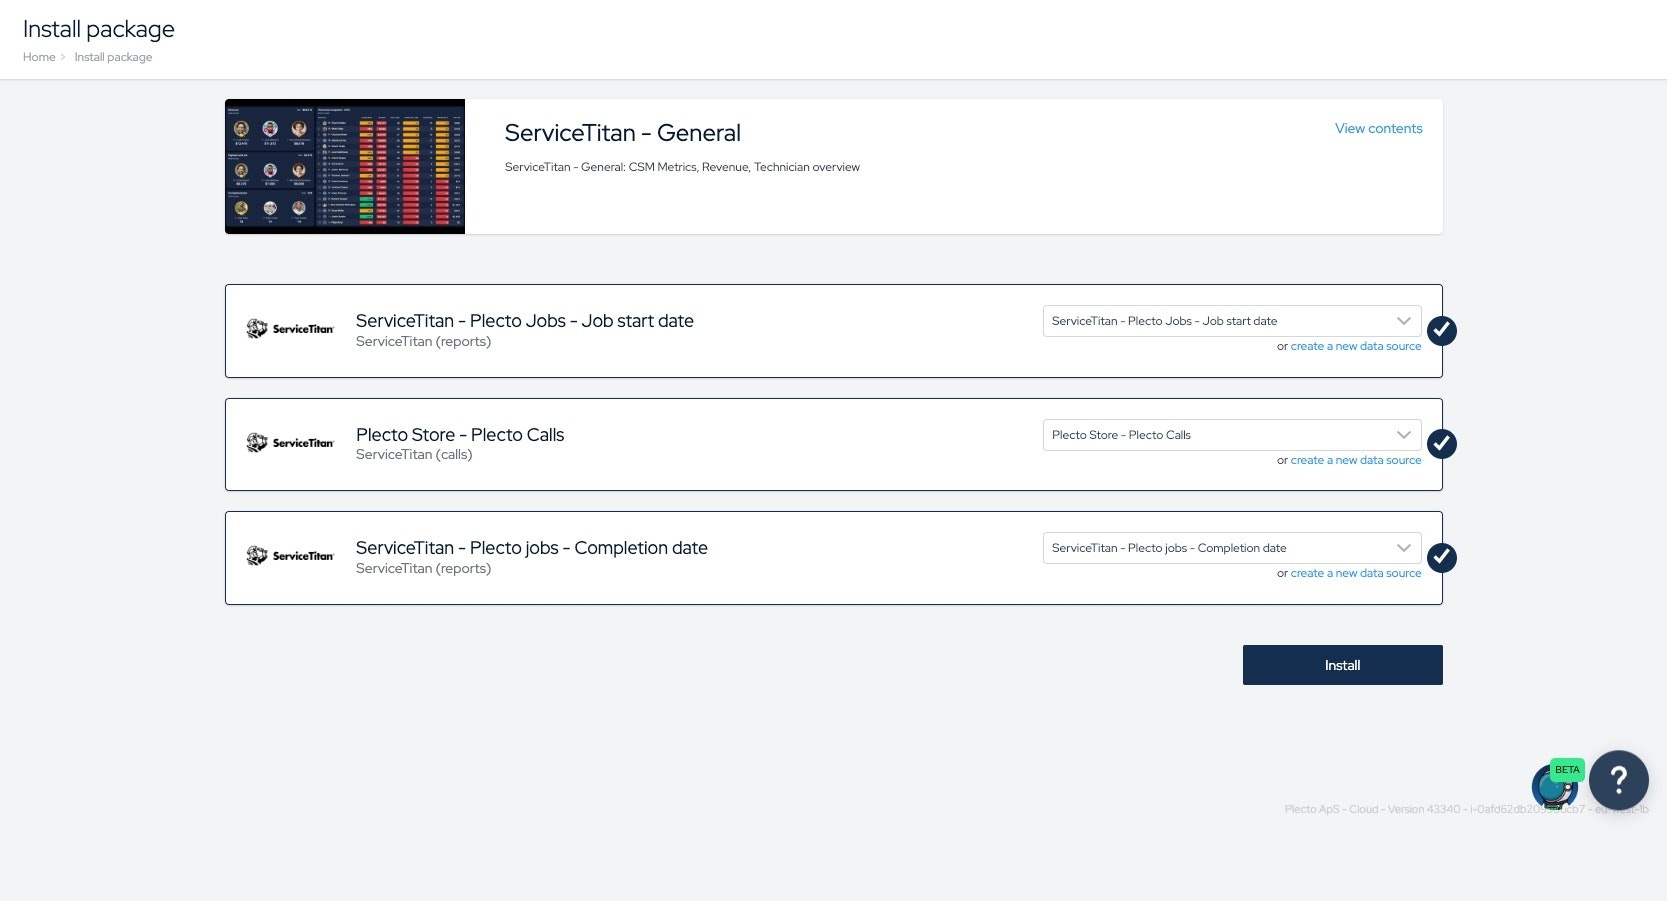
You’ll be redirected to select the data source:
-
ServiceTitan - Plecto Jobs - Job start date
-
ServiceTitan - Plecto Jobs - Completion date
-
Plecto Store - Plecto Calls (This data source will be auto-generated)
If you’re unsure how to import the data source, refer to the Plecto x ServiceTitan Integration Guide for detailed steps.
Once the correct data source is selected, click Install to complete the process.
3. Confirm the Installation:
After installation, two new dashboards will appear in your Plecto account:
-
Plecto Templates - CSM Metrics
-
Plecto Templates - Revenue
-
Plecto Templates - Technician Overview
4. Proceed to Finalize Setup
Go to the next step to adjust the formulas and complete your 3-Day Call Board configuration.
Step 2.1: General Package - Formula configuration
CSM Metrics Dashboard:
This dashboard should be fully configured once installed. If you encounter discrepancies, refer to the Troubleshooting section of this guide.
Revenue and Technician Overview Dashboards
The formula configuration for these dashboards is identical to the process outlined for the 3-Day Call Board Dashboard:
-
Open the dashboard and click EDIT in the top-right corner.
-
Select the KPI you wish to configure and click EDIT FORMULA.
-
Copy the required Job Class, Job Type, Status, or Business Unit values from the Filters Overview Dashboard and paste them into the corresponding filter in the formula editor.
-
If you missed these steps earlier, revisit the 3 Day Call Board Formula Configuration section for detailed guidance.
-
Save your changes and verify that the data displays correctly.
Step 3: Management Overview Package
1. Download the Package:
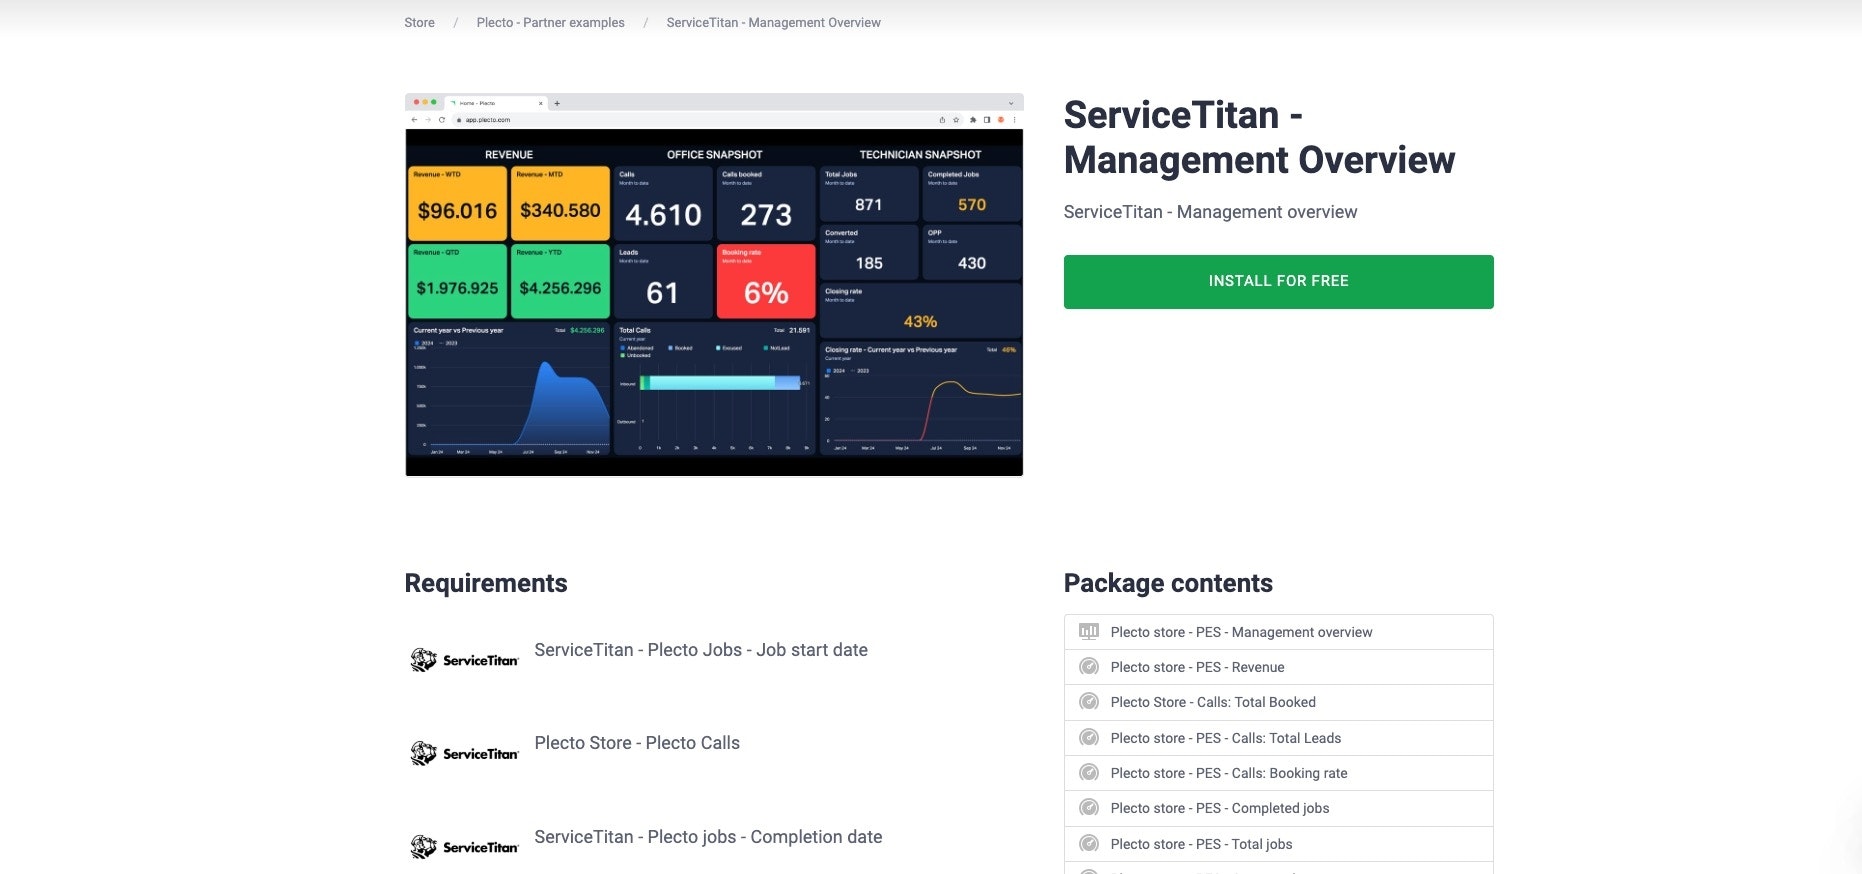
Locate the link for the Management Overview Package below and click the Install link.
ServiceTitan - Management Overview (Install link)
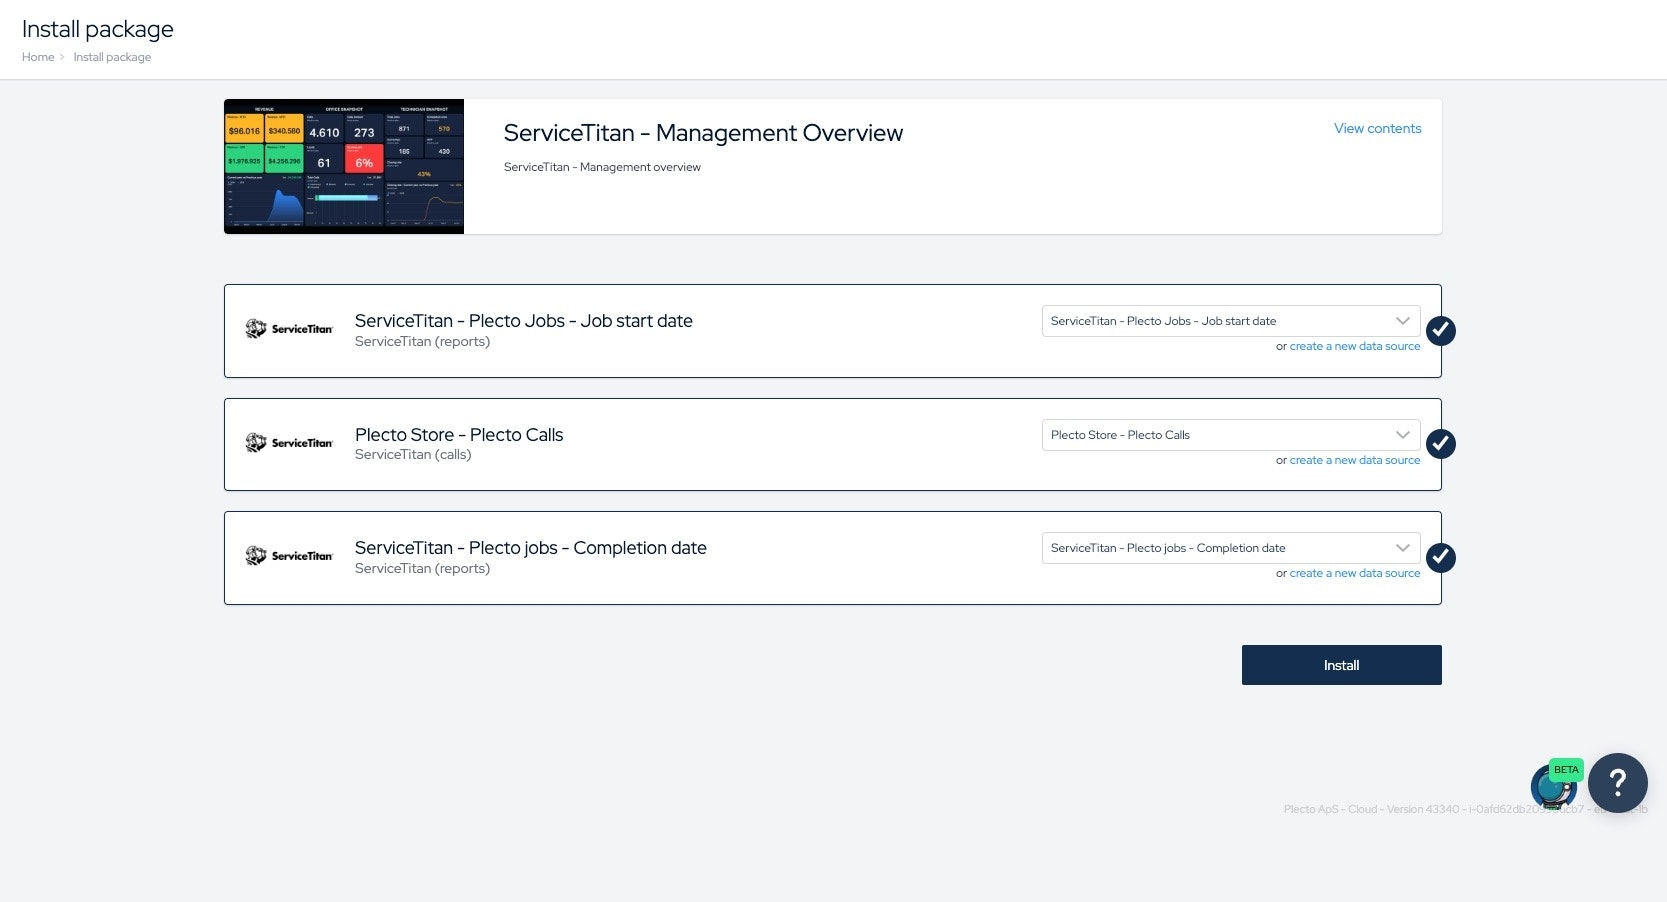
2. Install the Package:
Click INSTALL FOR FREE to start the installation process.
You’ll be redirected to select the data source:
-
ServiceTitan - Plecto Jobs - Job start date
-
ServiceTitan - Plecto Jobs - Completion date
-
Plecto Store - Plecto Calls (This data source will be auto-generated)
If you’re unsure how to import the data source, refer to the Plecto x ServiceTitan Integration Guide for detailed steps.
Once the correct data source is selected, click Install to complete the process.
3. Confirm the Installation:
After installation, two new dashboards will appear in your Plecto account:
- Plecto Templates - Management Overview
4. Proceed to Finalize Setup
Go to the next step to adjust the formulas and complete your Management overview configuration.
Step 3.1: Management Overview Package - Formula configuration
If you’ve followed the previous steps to set up the 3-Day Call Board Package and General Package, the formulas for the Management Overview Dashboard should already be fully functional.
Enjoy! 🚀
If you notice any discrepancies, refer to the Troubleshooting section.
Troubleshooting
If you encounter discrepancies in any of the dashboards, follow these steps to resolve them:
1. Verify Formula Values
Ensure that all necessary values are included in the formulas, such as:
-
Job Types
-
Job Class
-
Business Units
-
Statuses (e.g., "In Progress" or "Completed")
You can find all required values in the Filters Overview Dashboard.
If not using "Job Class" within ServiceTitan, please remove the filter within the formula.
2. Pay Attention to Case Sensitivity
Plecto formulas are case-sensitive. To avoid errors, copy and paste the values directly from the Filters Overview Dashboard, ensuring they exactly match the values in the data source.
3. Check the Date Field
Use the appropriate date field for your metrics:
-
For scheduled calls, use "Scheduled Date".
-
For completed jobs, use "Completed Date".
4. Contact Support
If discrepancies persist after completing these steps, reach out to our support team. We’ll be happy to assist and ensure the issue is resolved promptly.